|
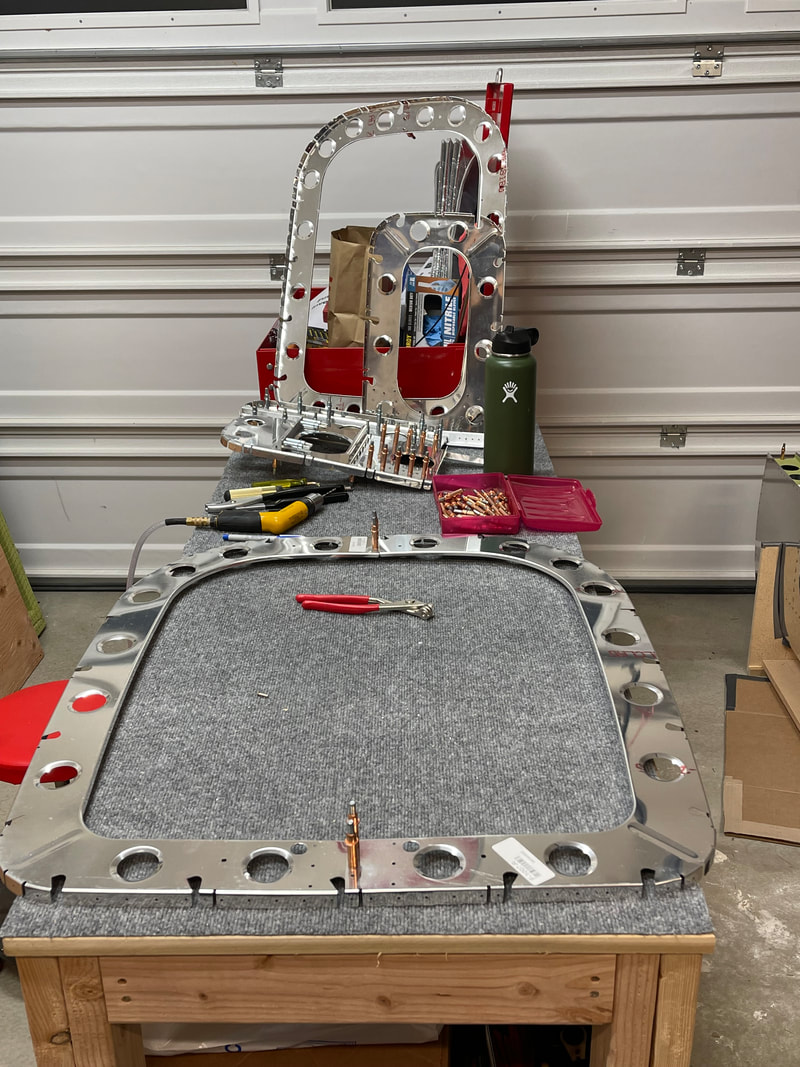
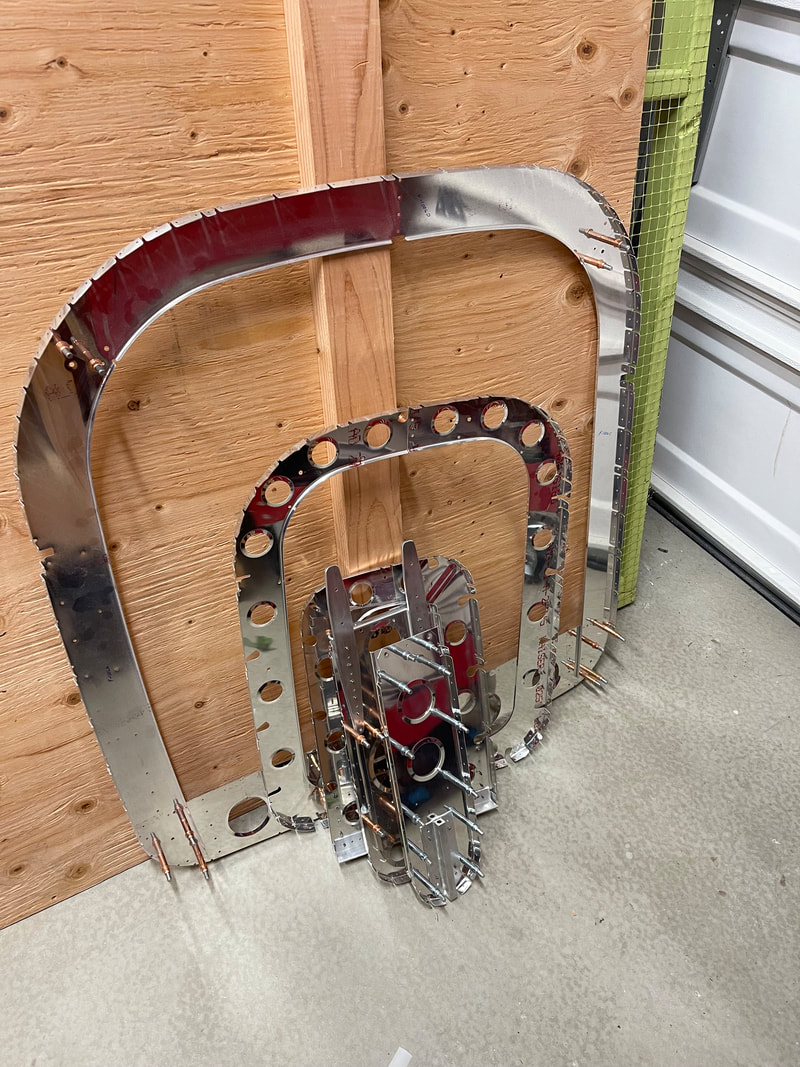
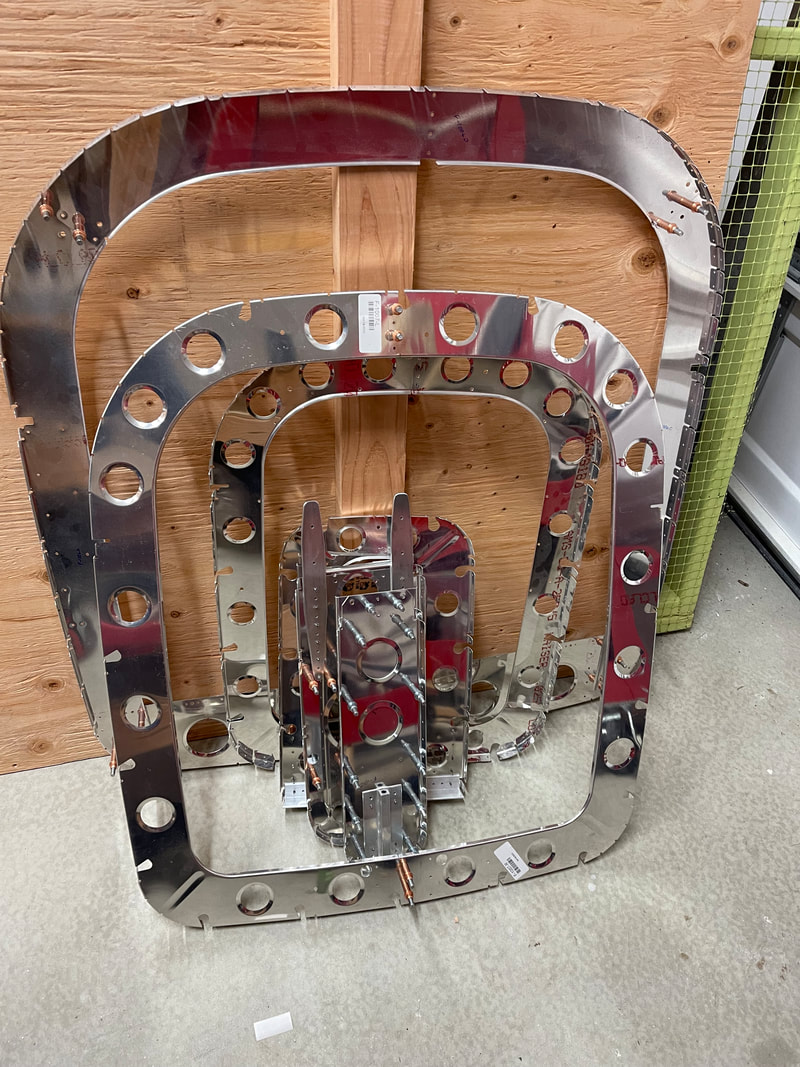
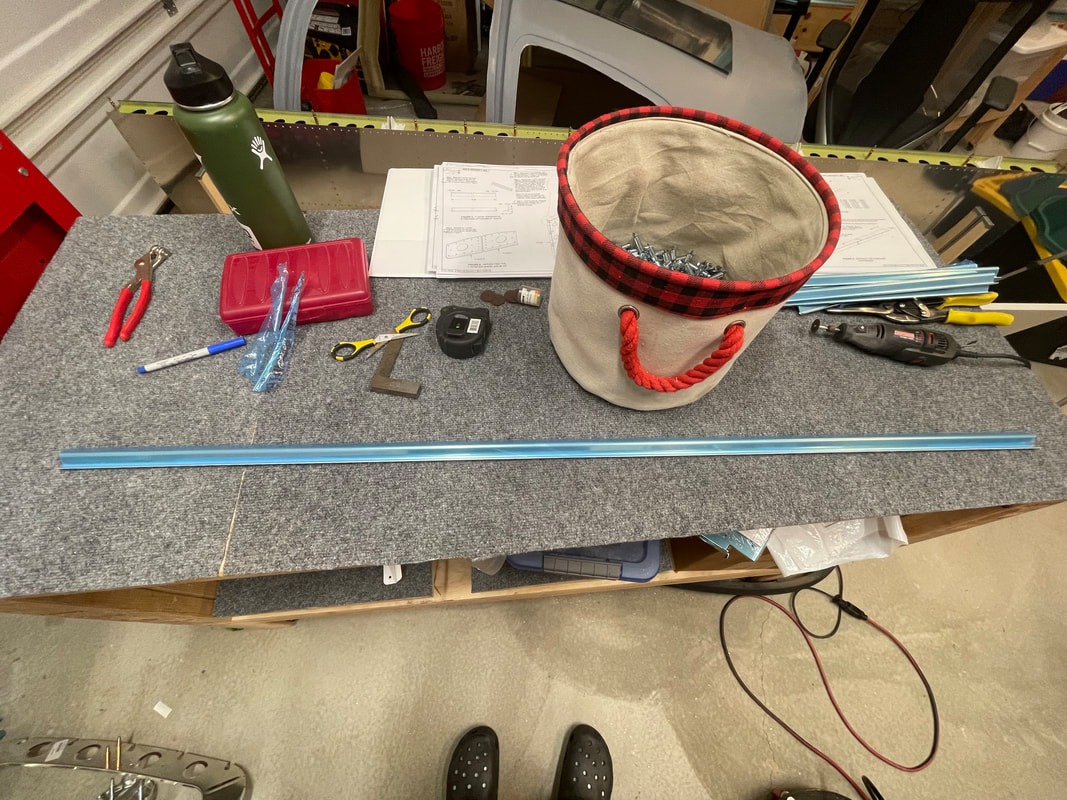
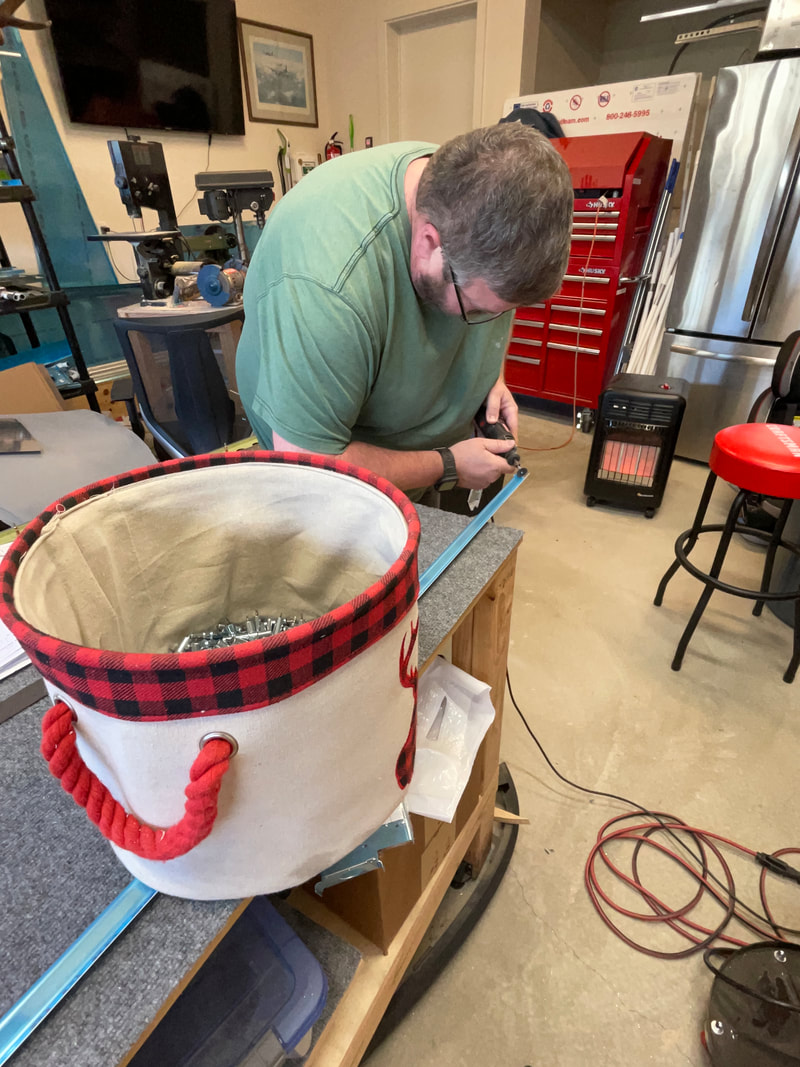
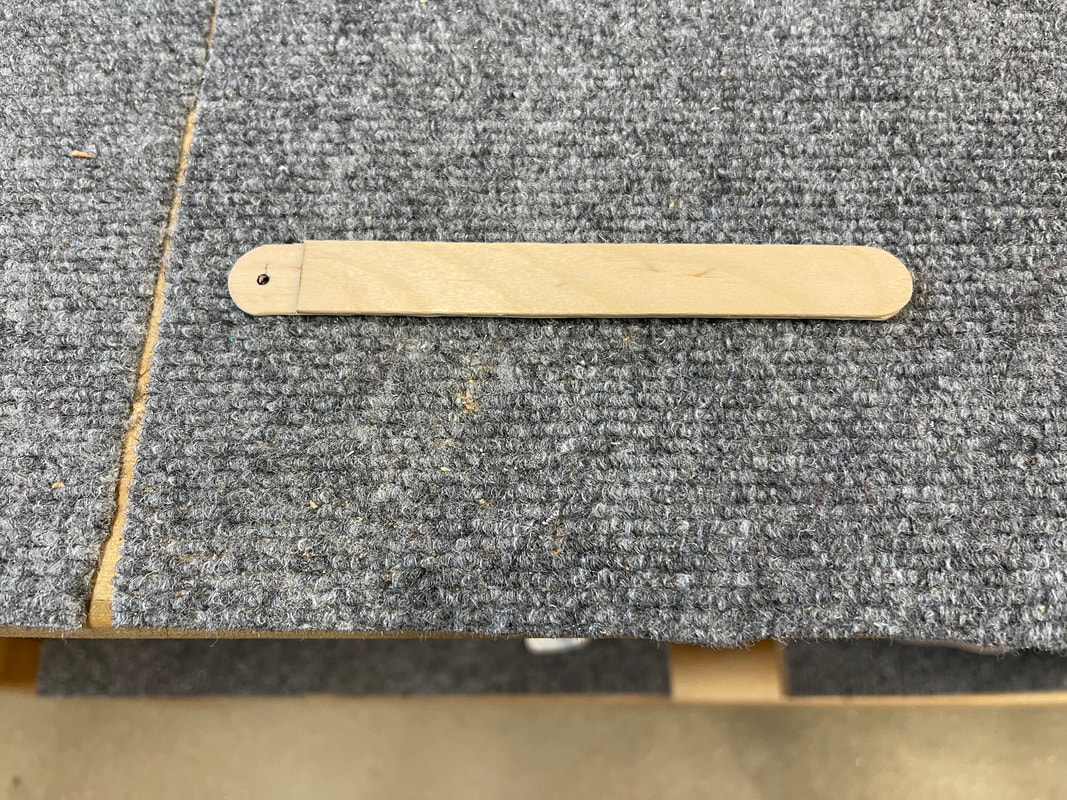
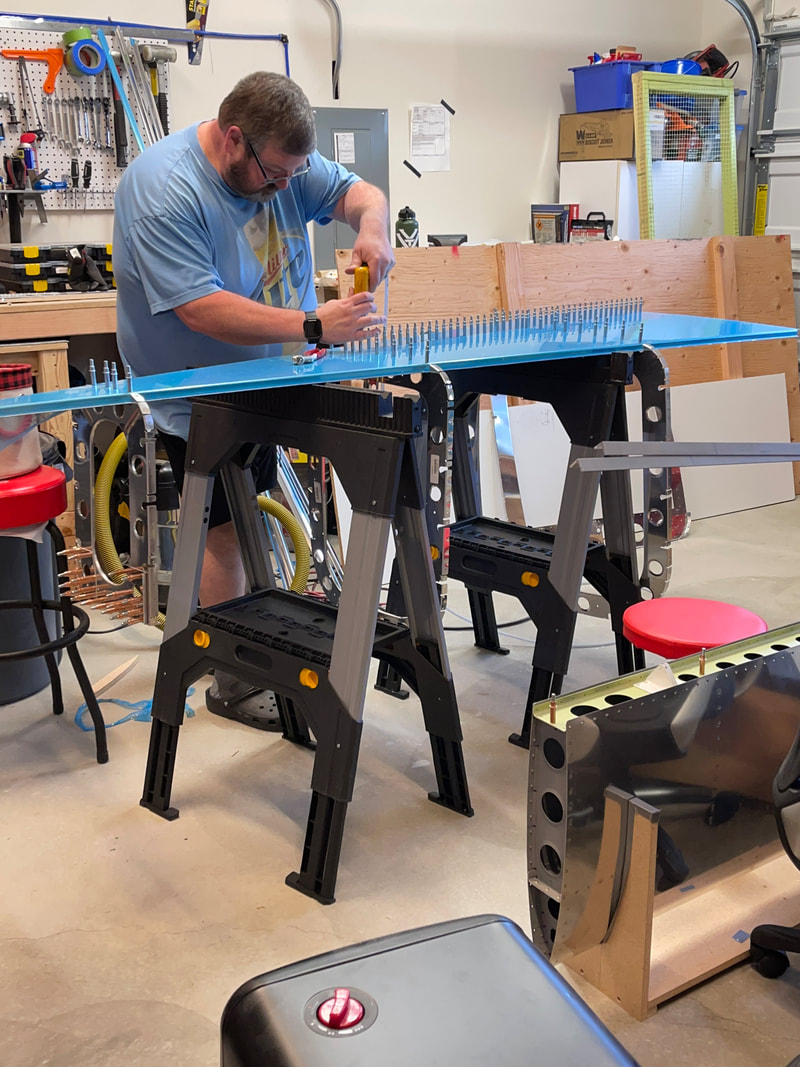
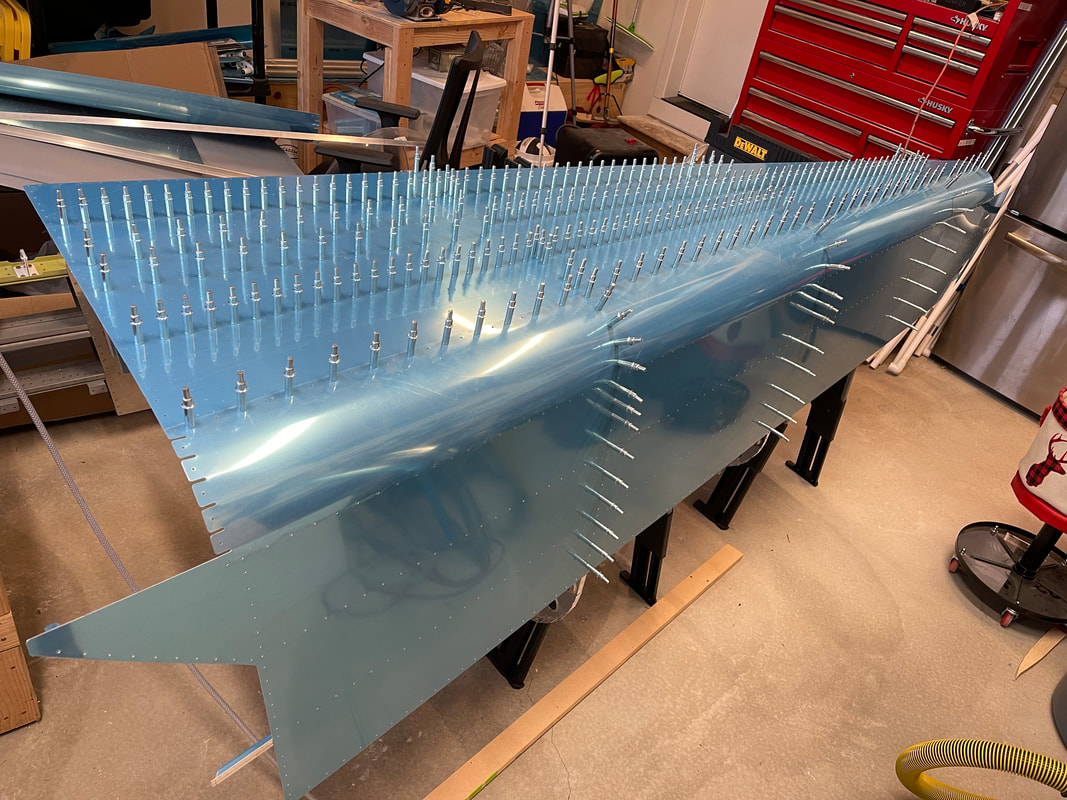
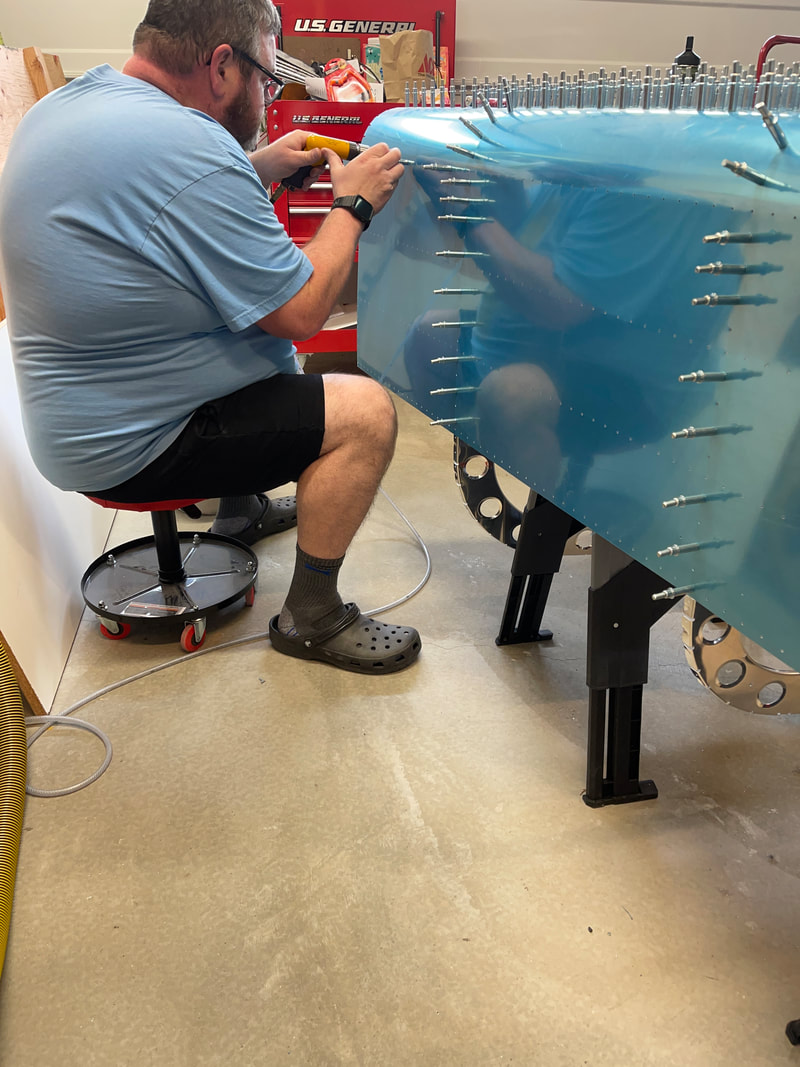
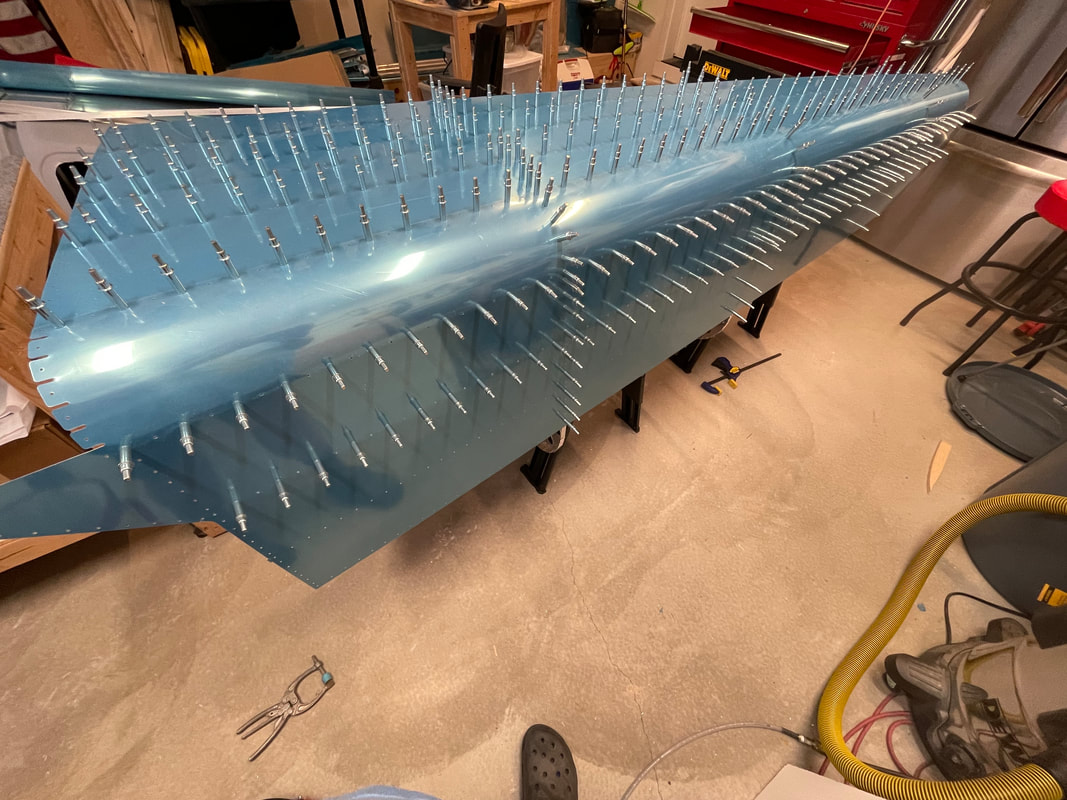
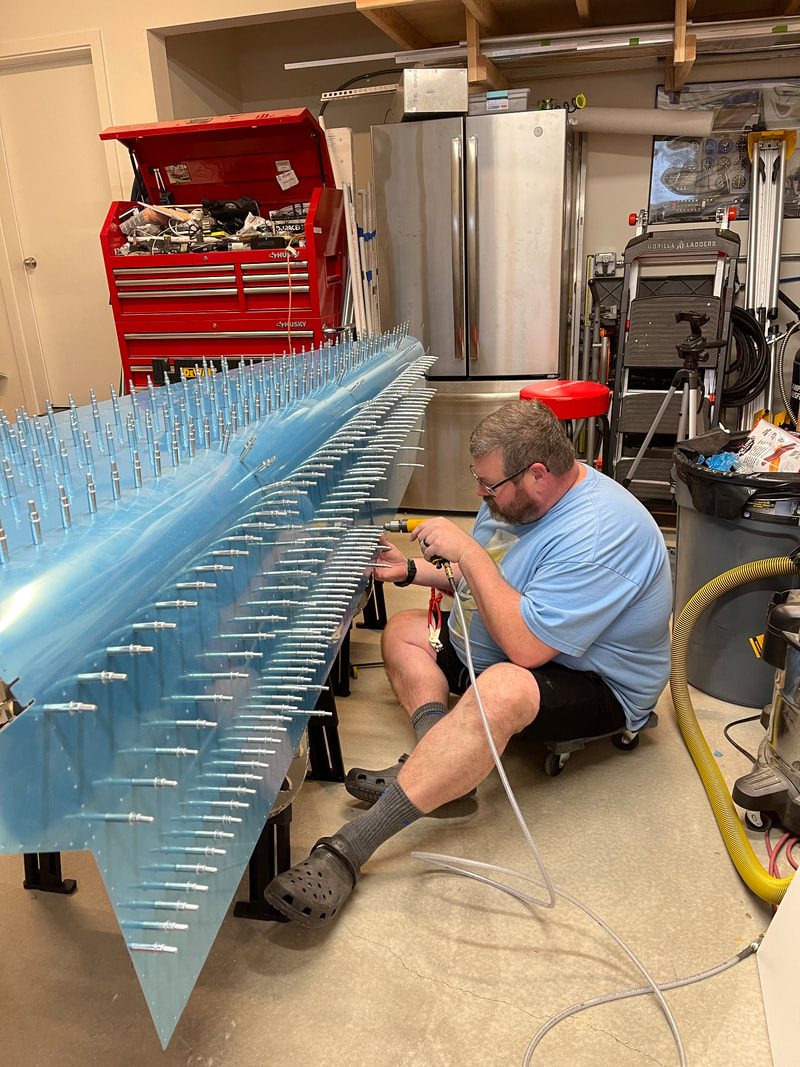
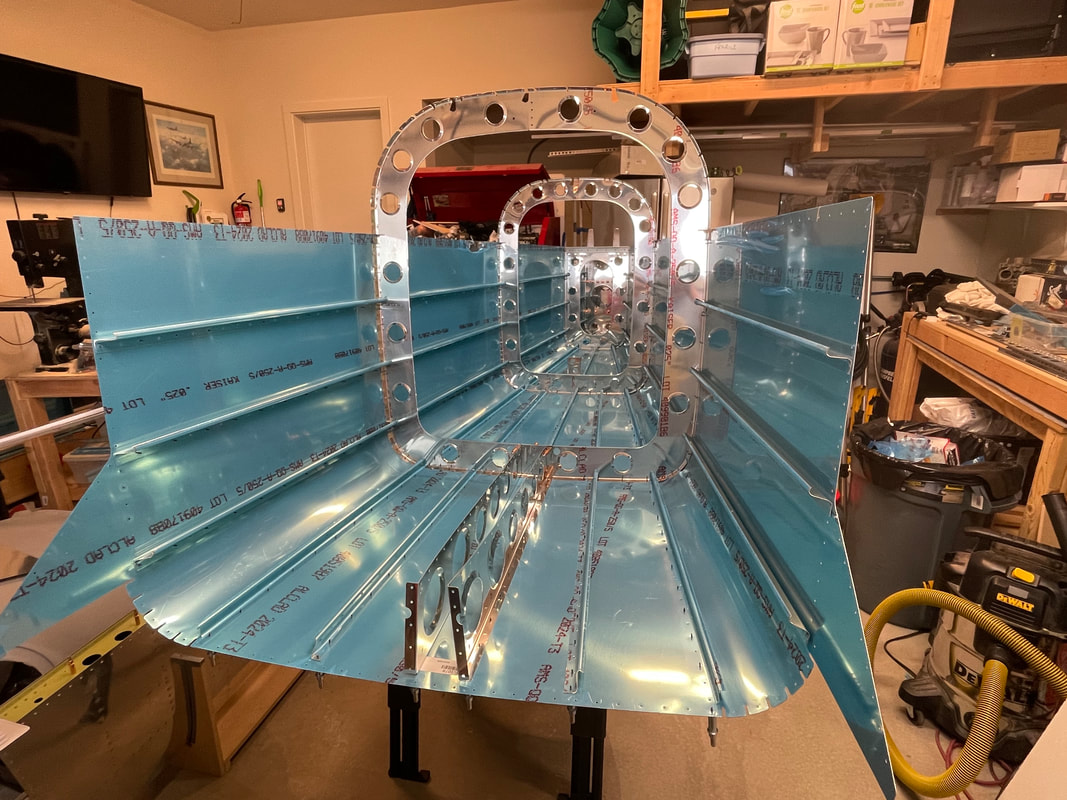
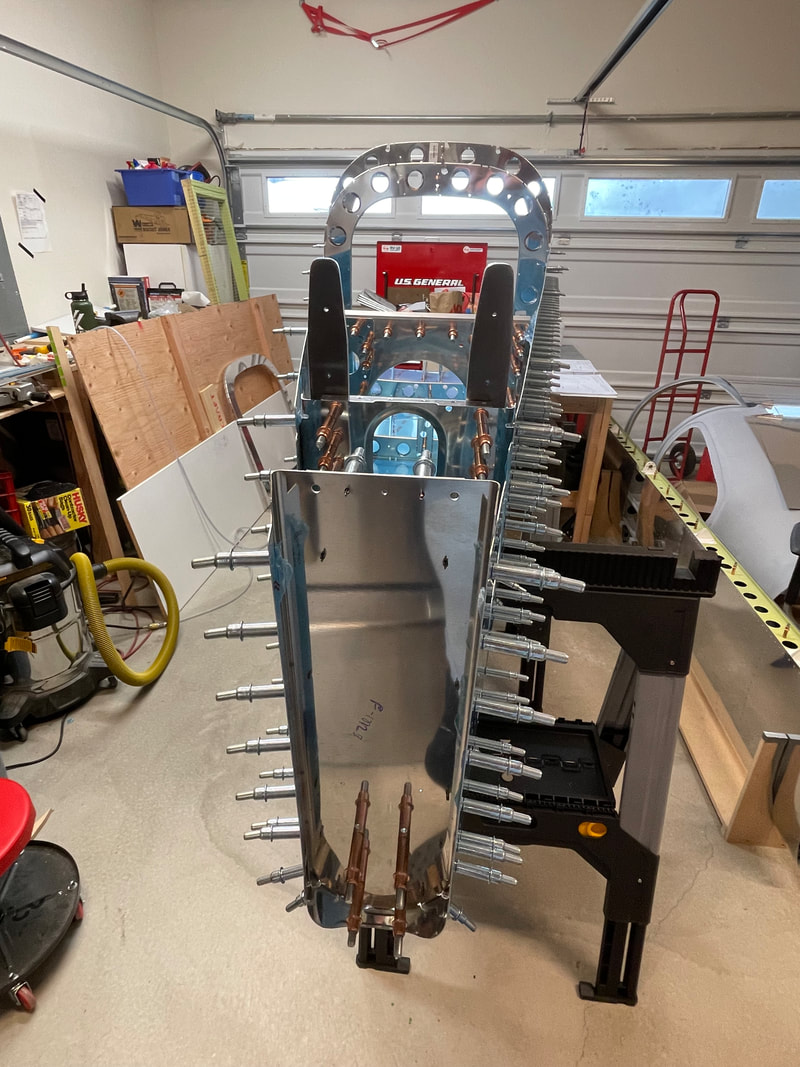
This was an exciting week of building! Seeing the tailcone start to take shape (for me) drives home the reality of what we're doing here. There were certainly some monotonous times as well with the cutting of j-channels and then match-drilling them to the skins. For marking the line along the length of the j-channels, I did steal an idea I'd seen online. I super glued two popsicle sticks together with the bottom one cut square and offset 5/16" from a #40 hole. I was then able to poke a Sharpie through the hole and run this makeshift jig along the edge of the j-channel. Wasn't perfect, but was far better than piecing together lines from a straightedge. As for the actual match-drilling, it seemed like the holes went on forever. Still not done with that; have the left side to finish on my next outing. I did make one bonehead mistake. In section 10-6, step 1, you are to cut two pieces of aluminum angle stock to size, then make seperate marks where you will bend it and where you will drill a pilot hole to make a notch in the material. On the first one, I made the marks at 20 11/16" for the bend and at 7 7/16" for the pilot hole. When I went to mark the 15/32" edge distance for the pilot, I erroneously made it on the bend line and didn't catch it until after I'd drilled the #40 hole. I flipped the part end-over-end and proceeded on since it wasn't bent. Still waiting on confirmation from Van's tech support as to whether this will be acceptable, or if I have to replace the part. Otherwise, things are moving along smartly!
0 Comments
Leave a Reply. |
Archives
April 2023
Categories |


 RSS Feed
