|
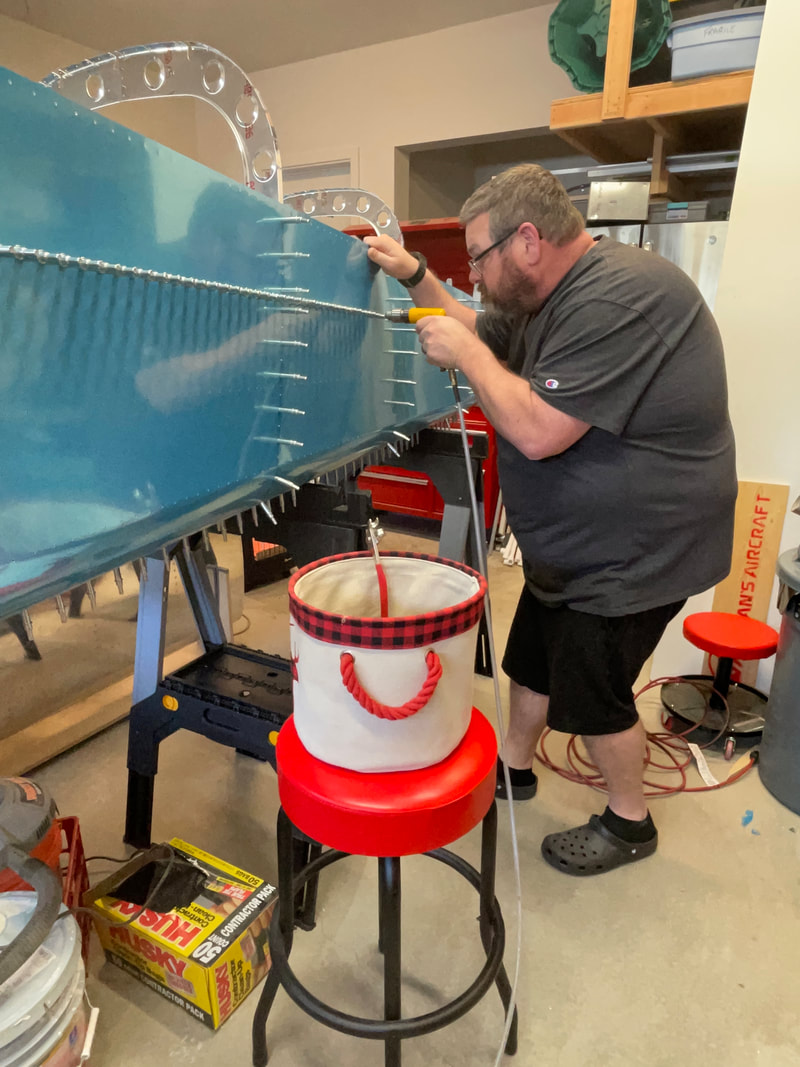
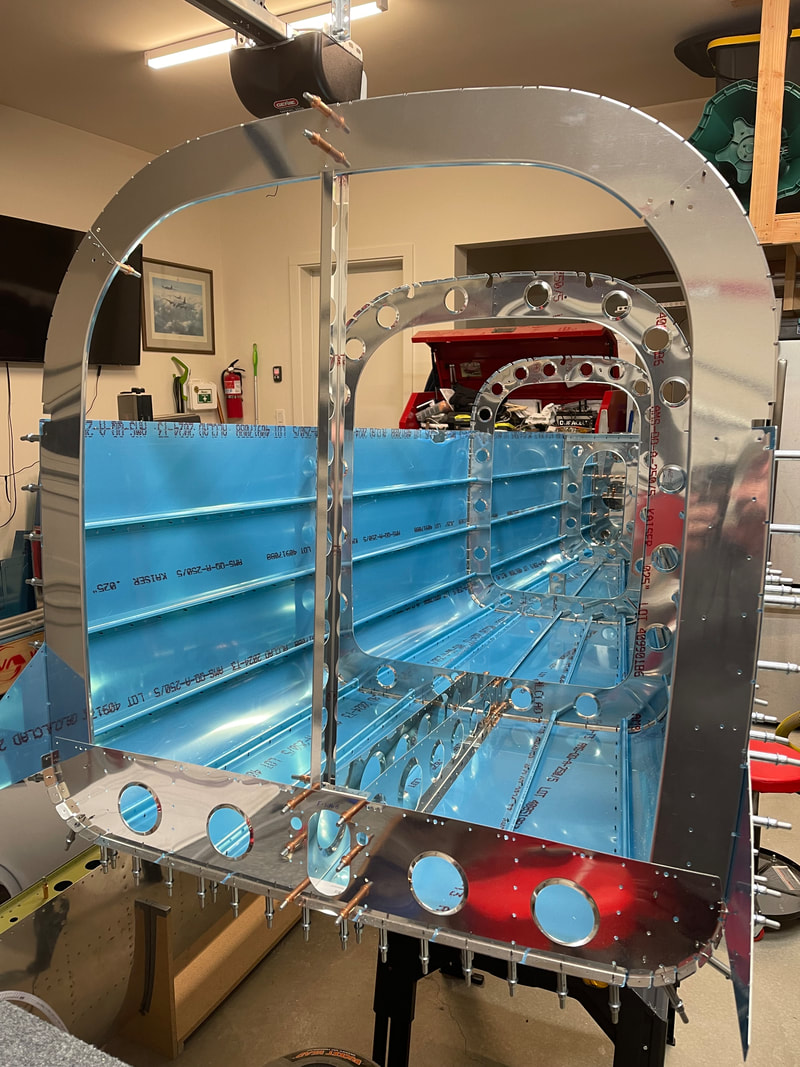
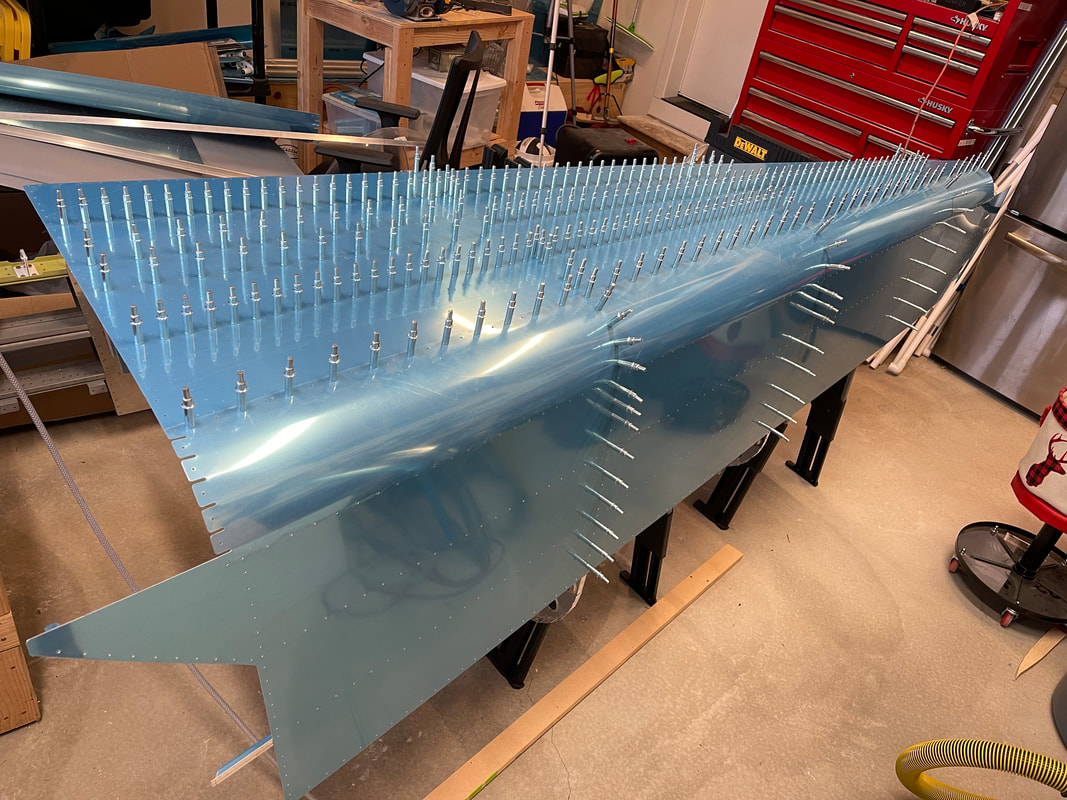
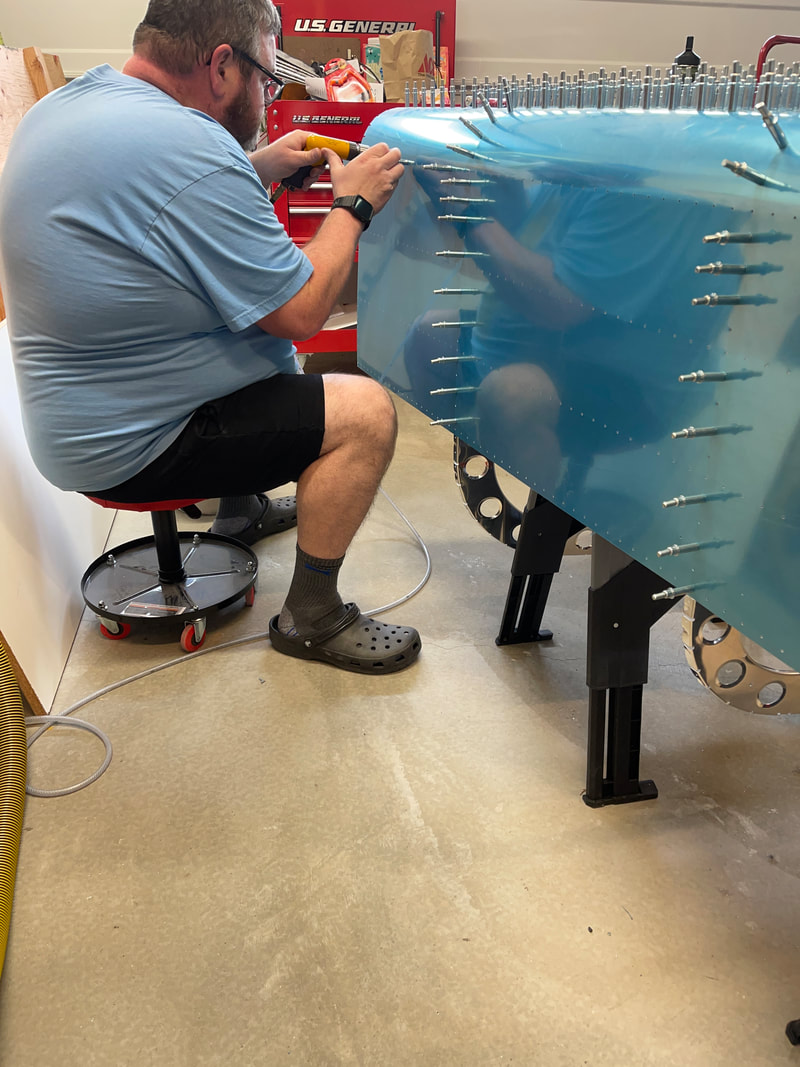
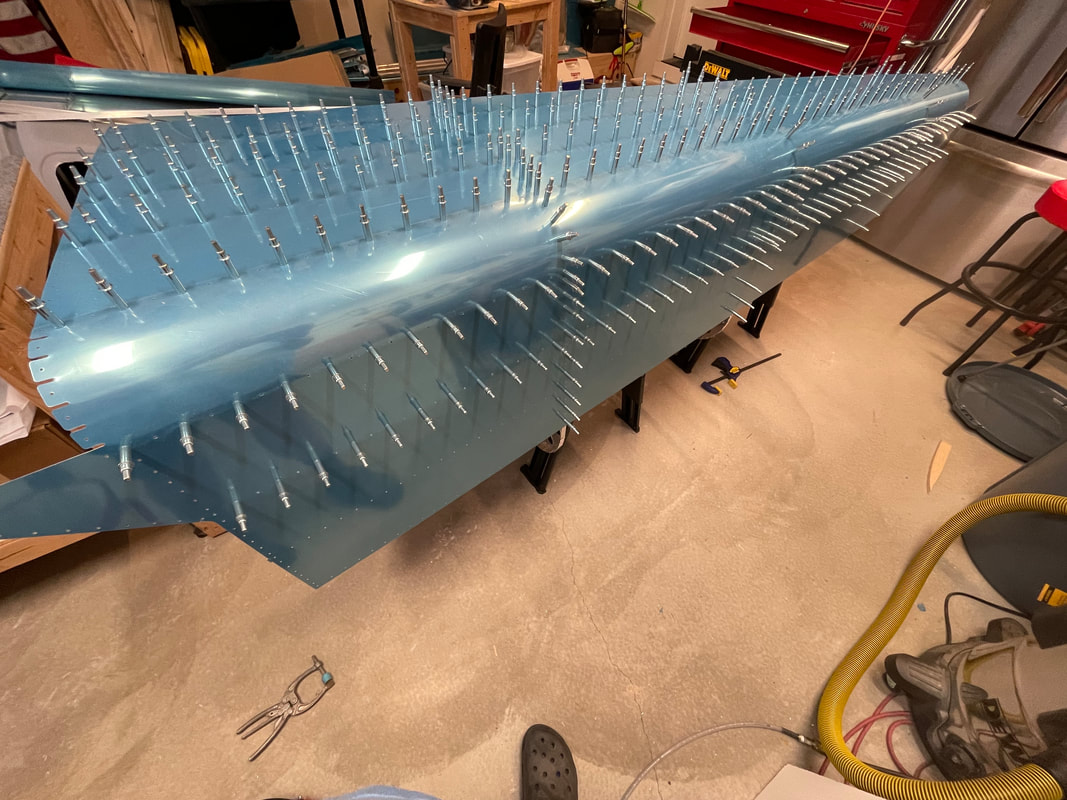
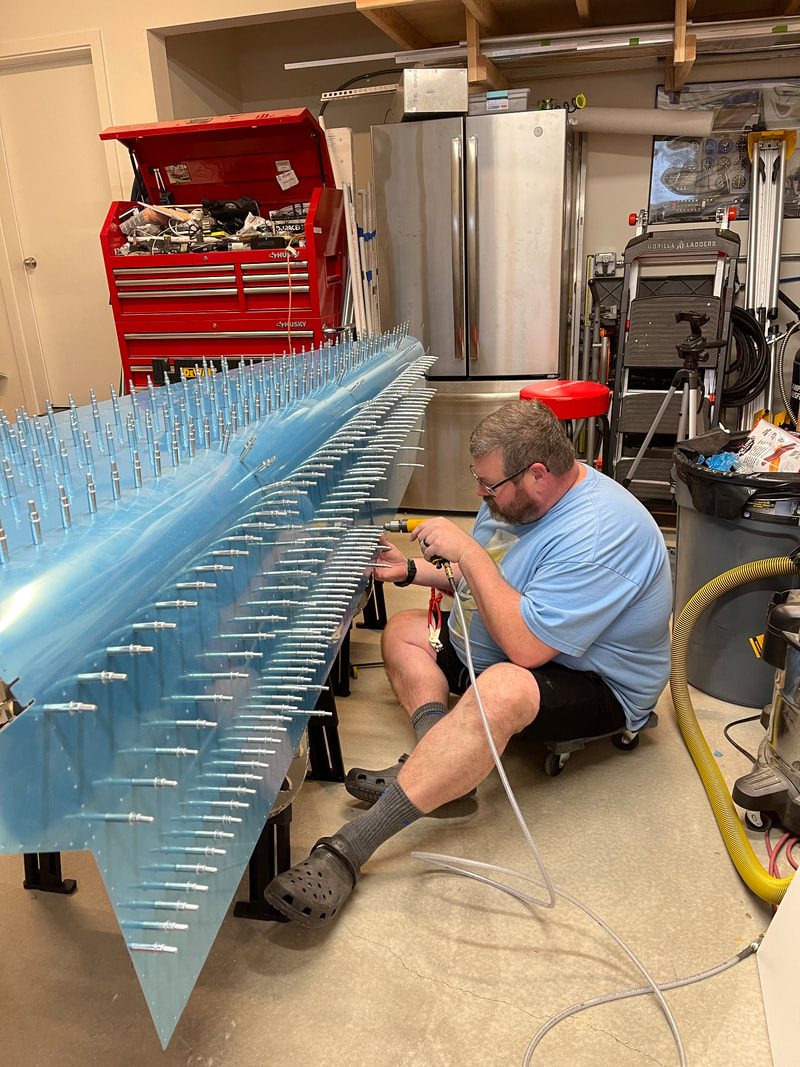
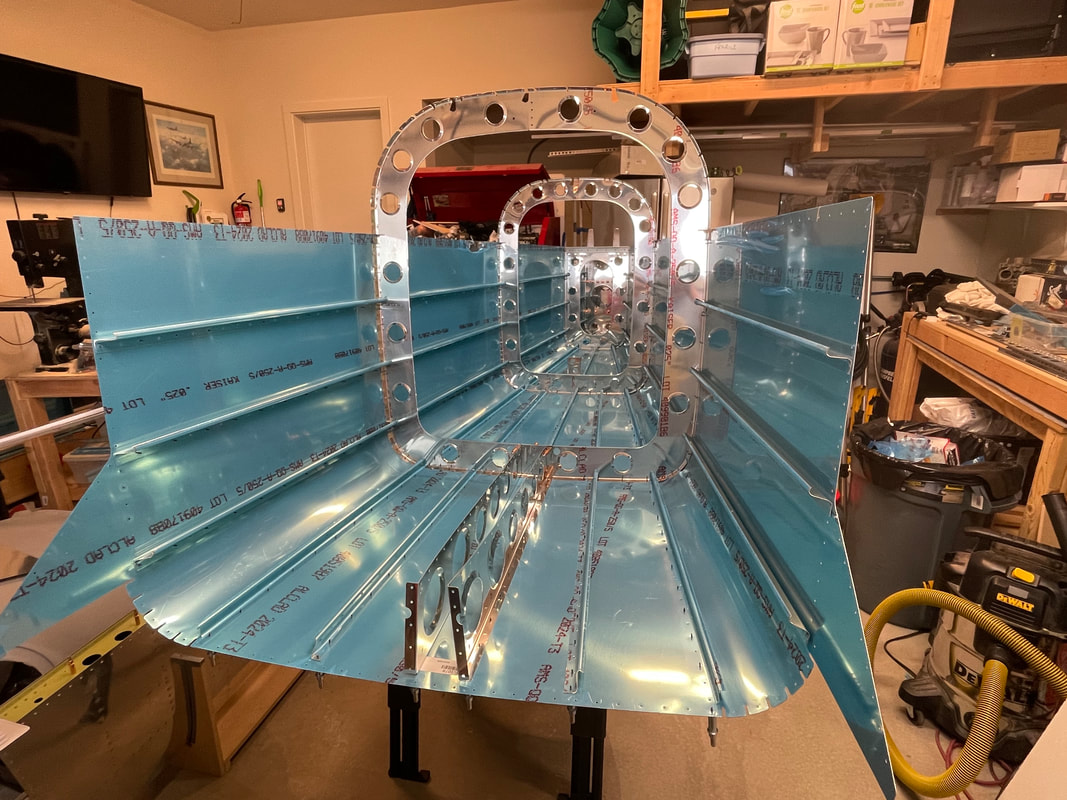
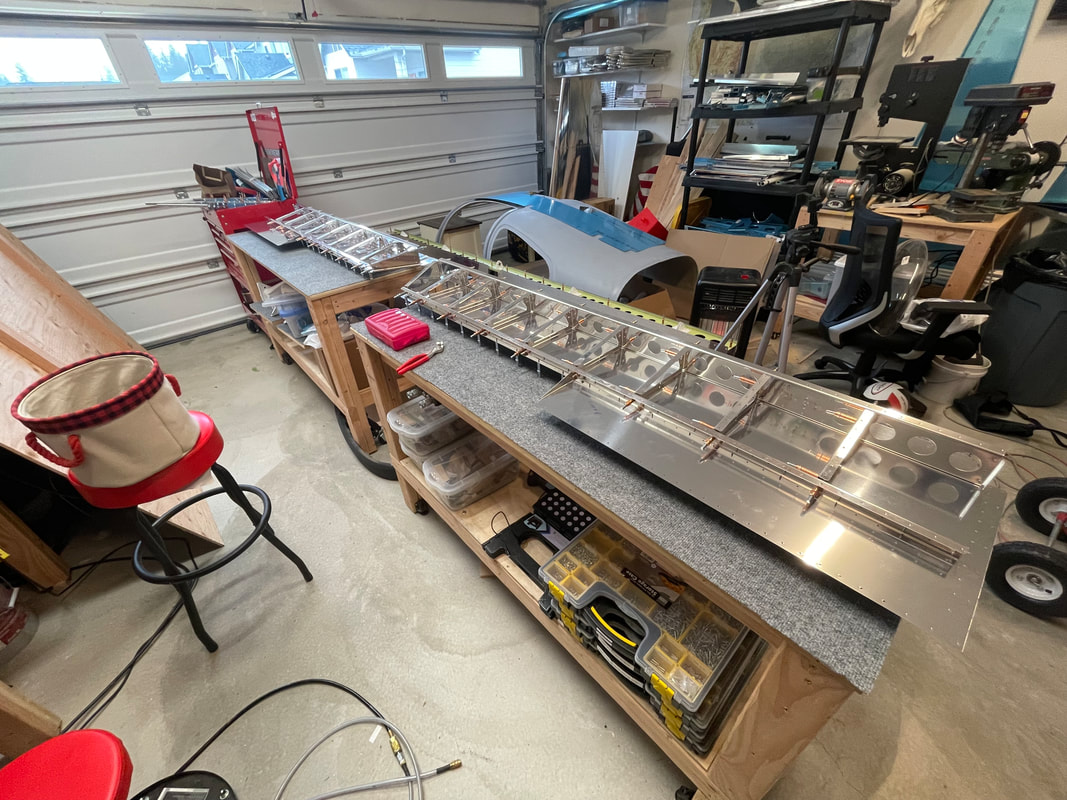
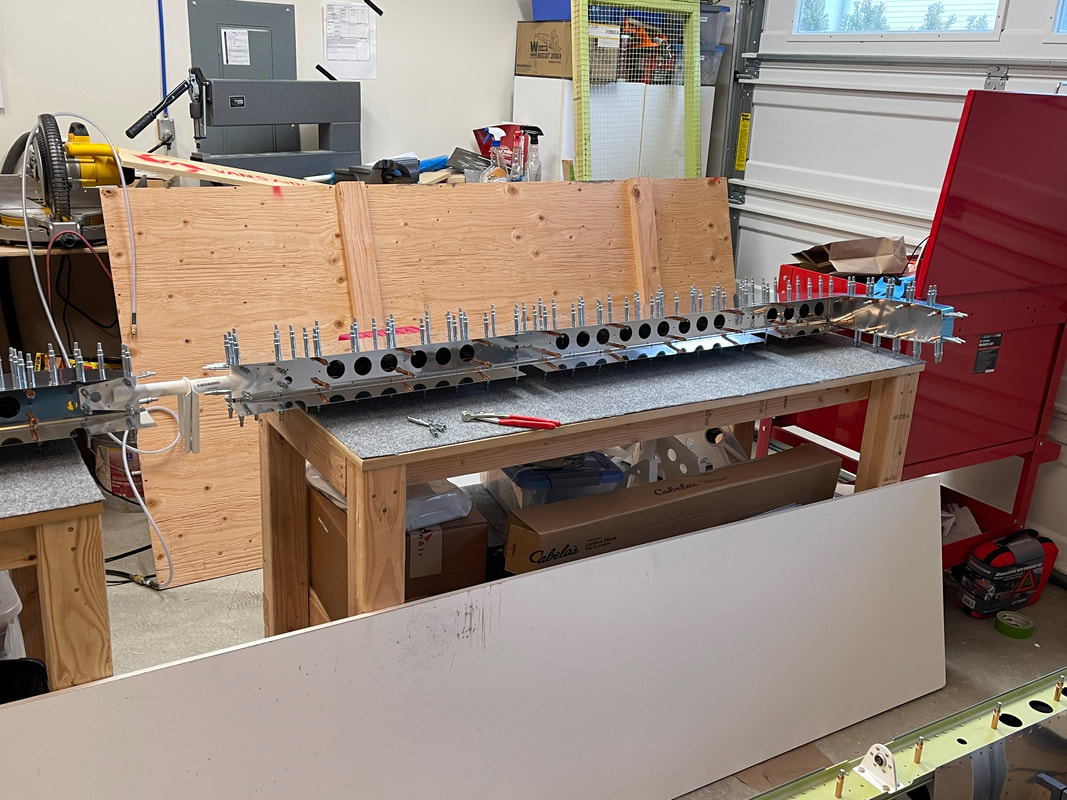
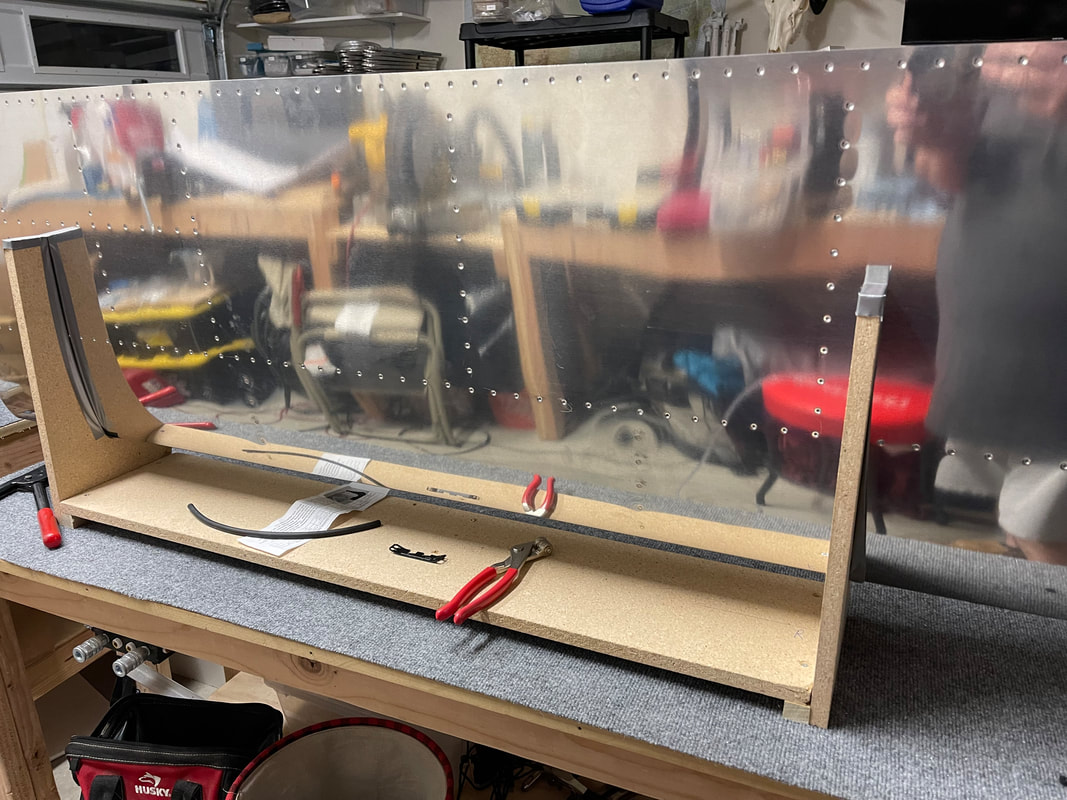
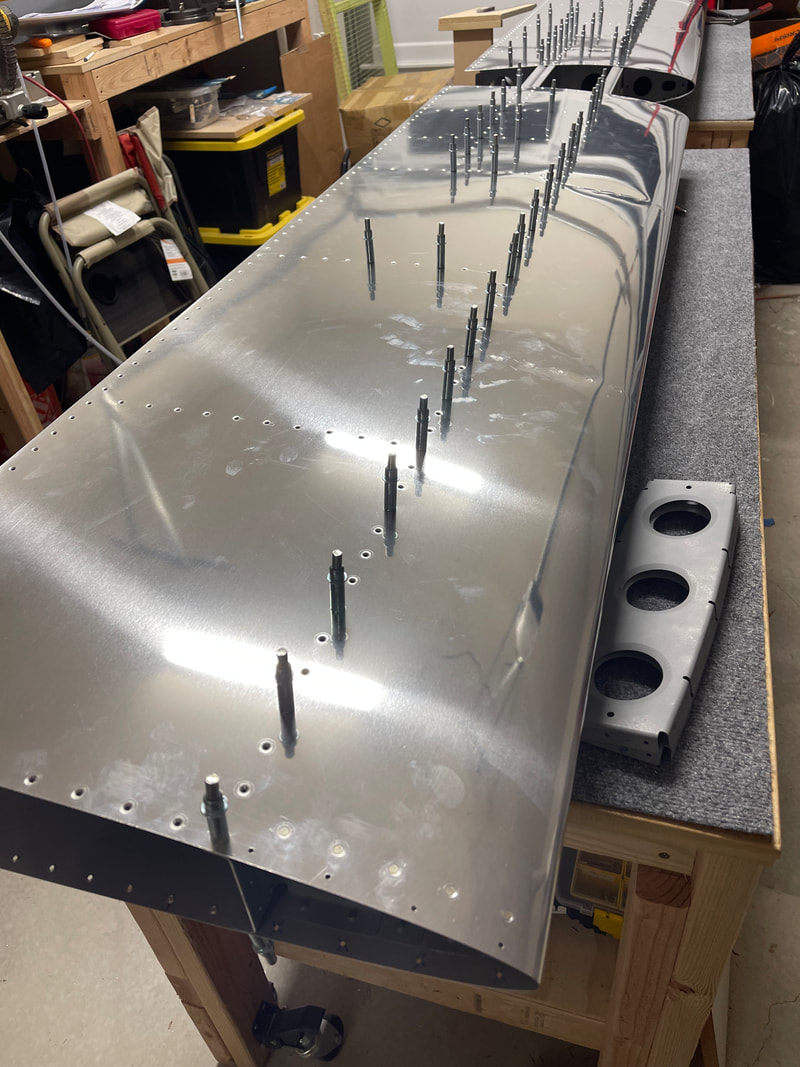
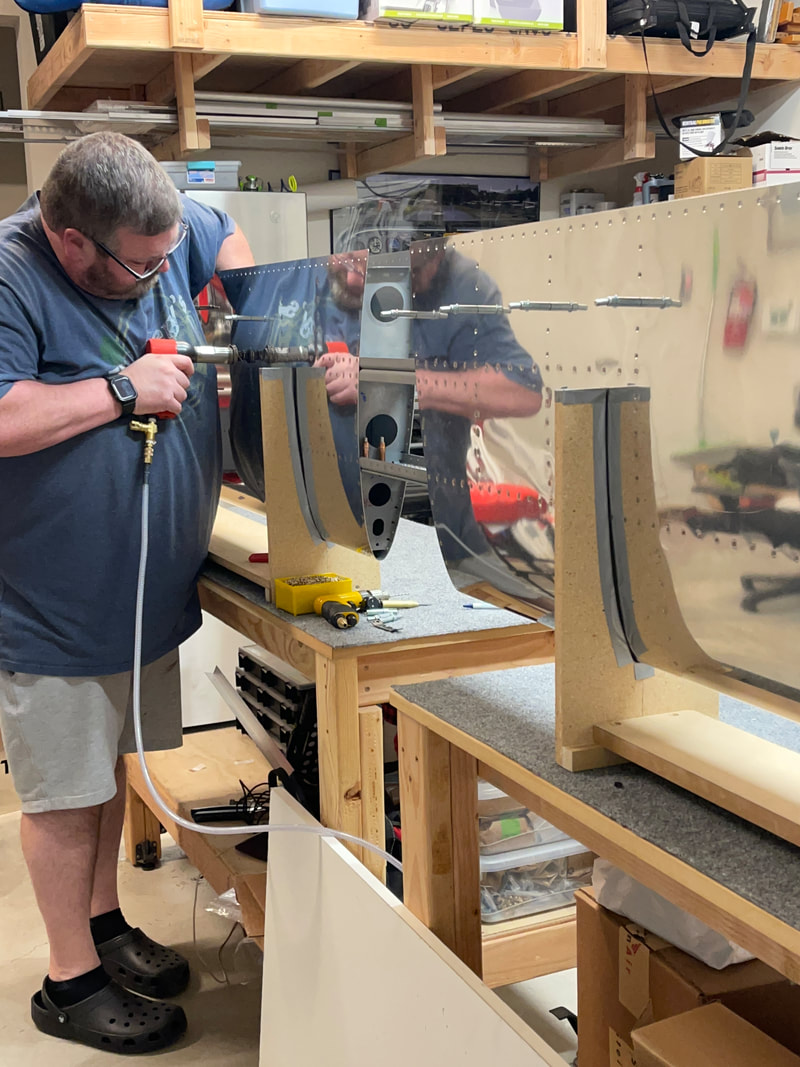
Tonight I got the left side j-stringers match drilled to the F-1073 side skin. Certainly glad to have this tedious task behind me. I found that it took close to a half hour to match-drill each j-stringer while placing a cleko in each hole along the way. Also got the rudder stop stiffeners and rudder stop brace in place, and attached the F-1006 bulkead. We are now complete through section 10-9, step 2.
0 Comments
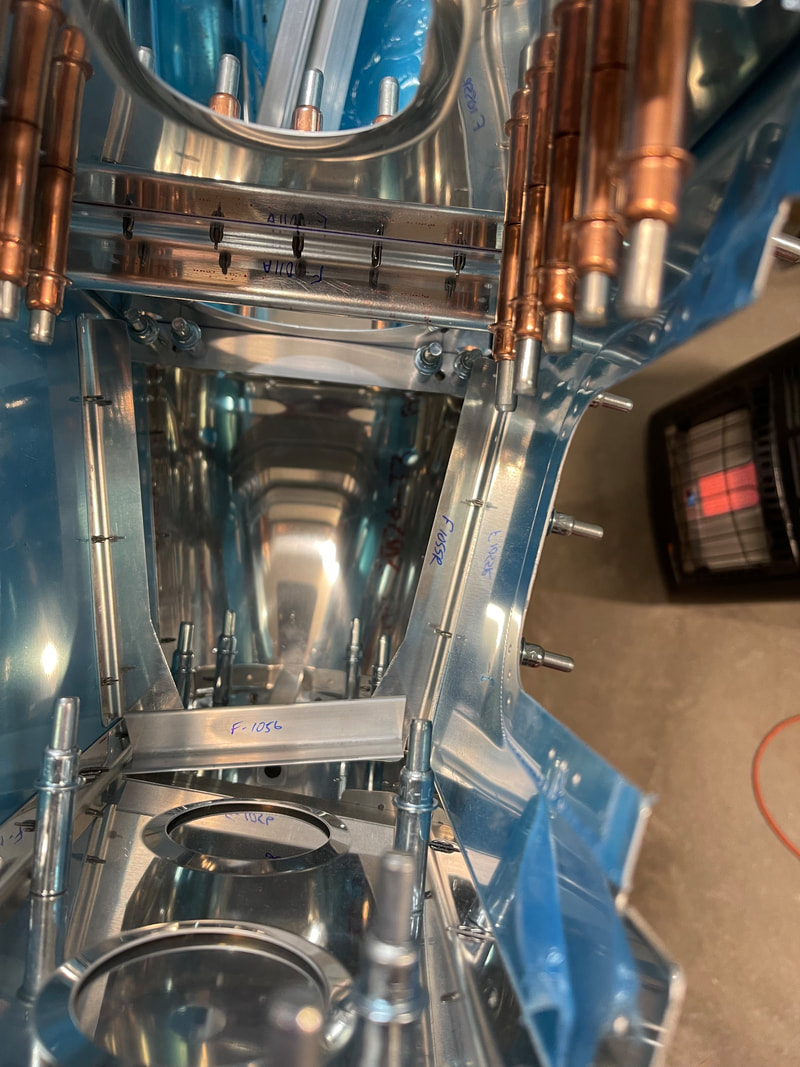
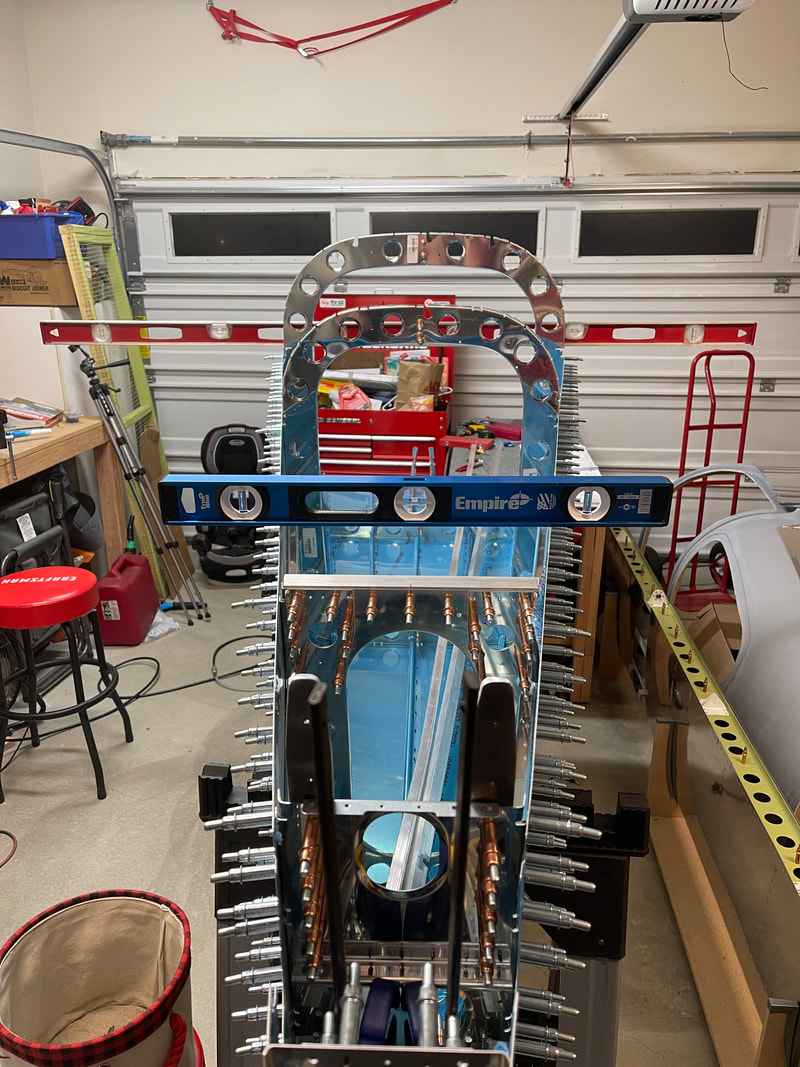
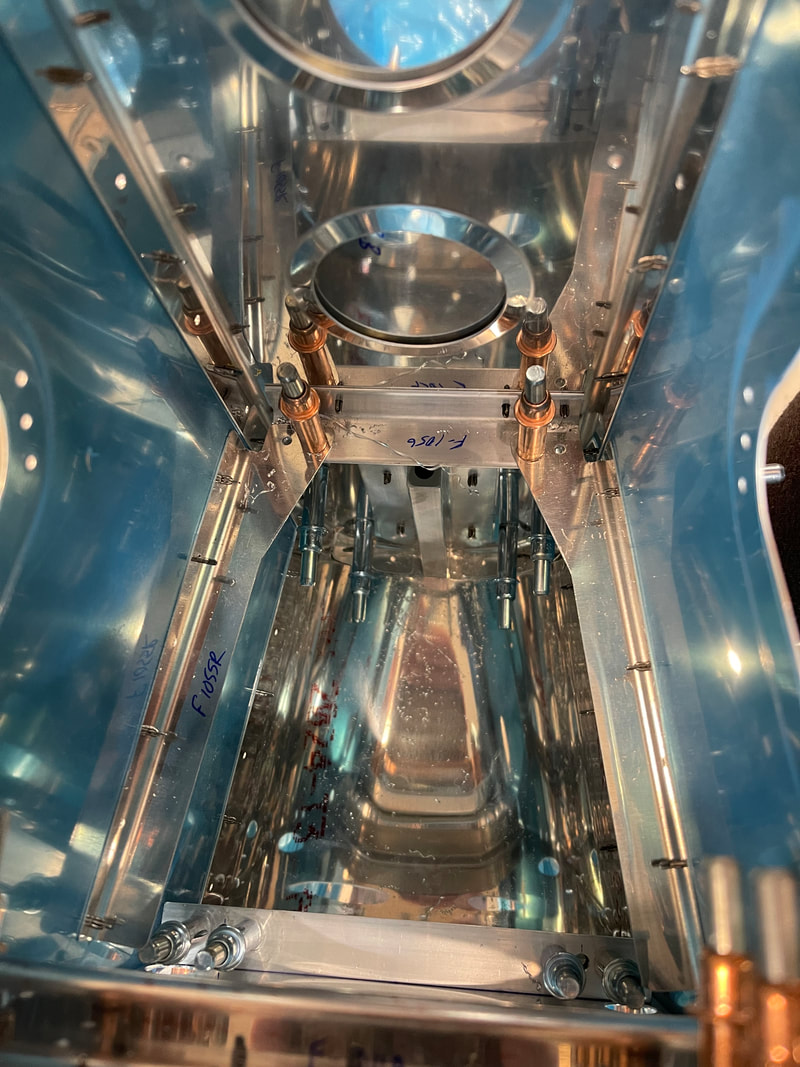
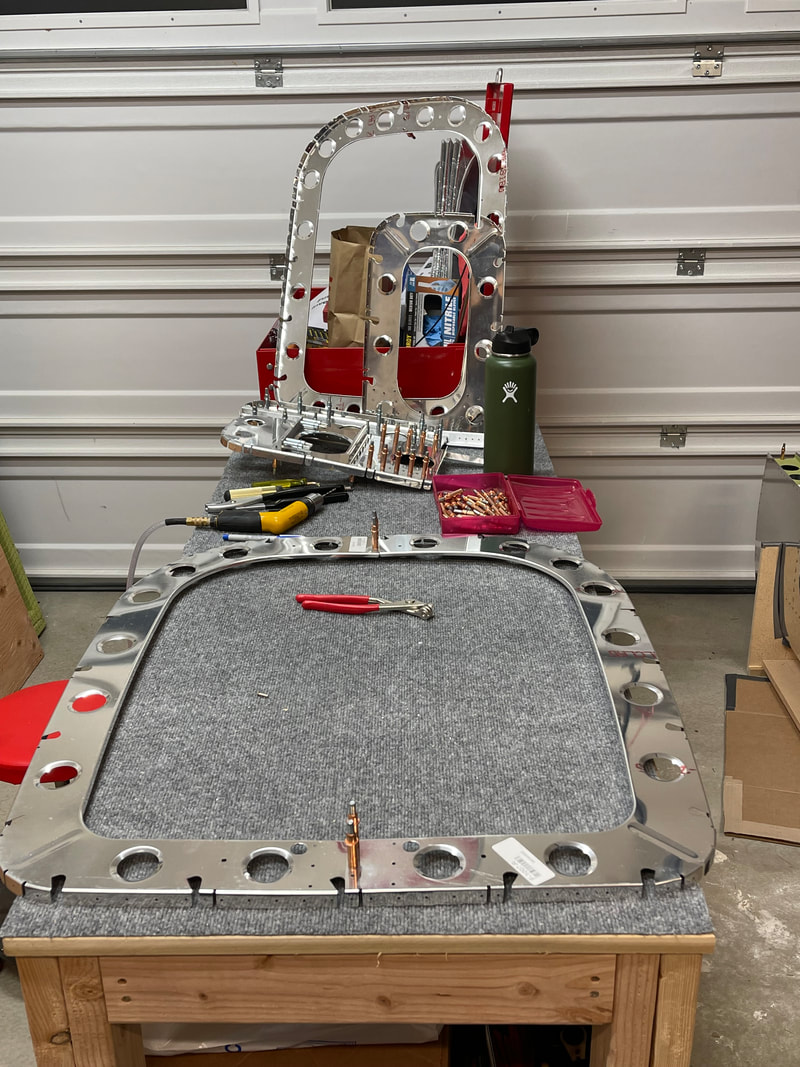
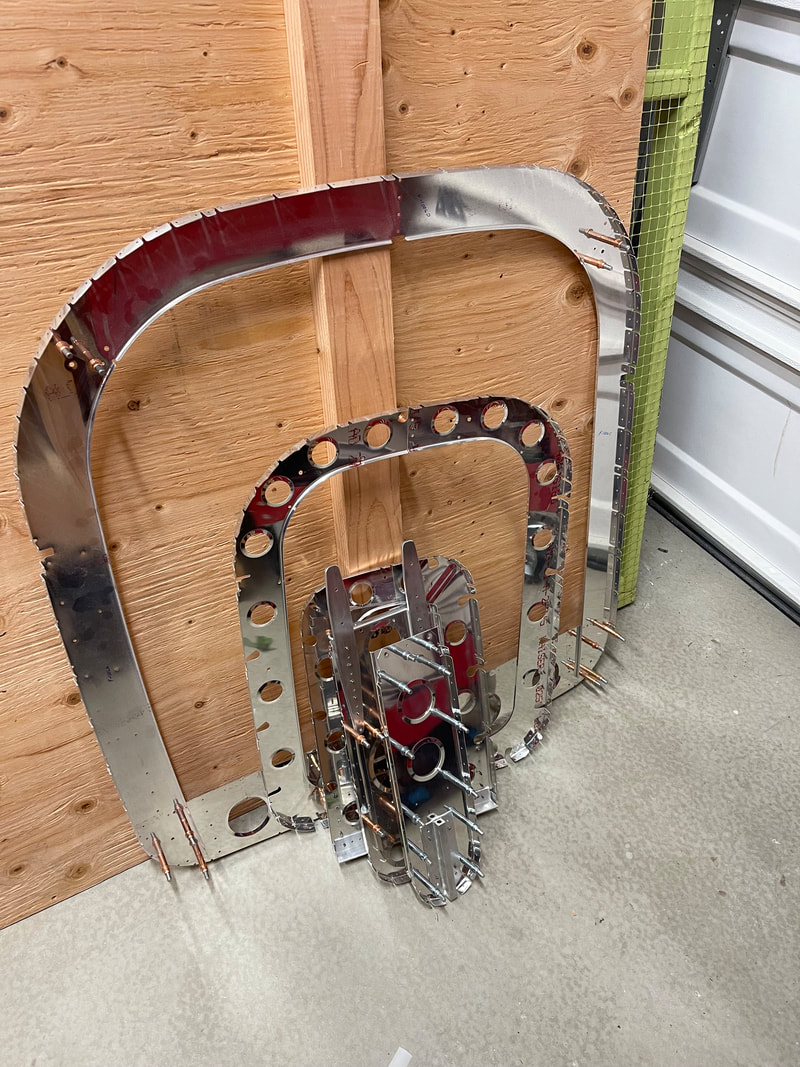
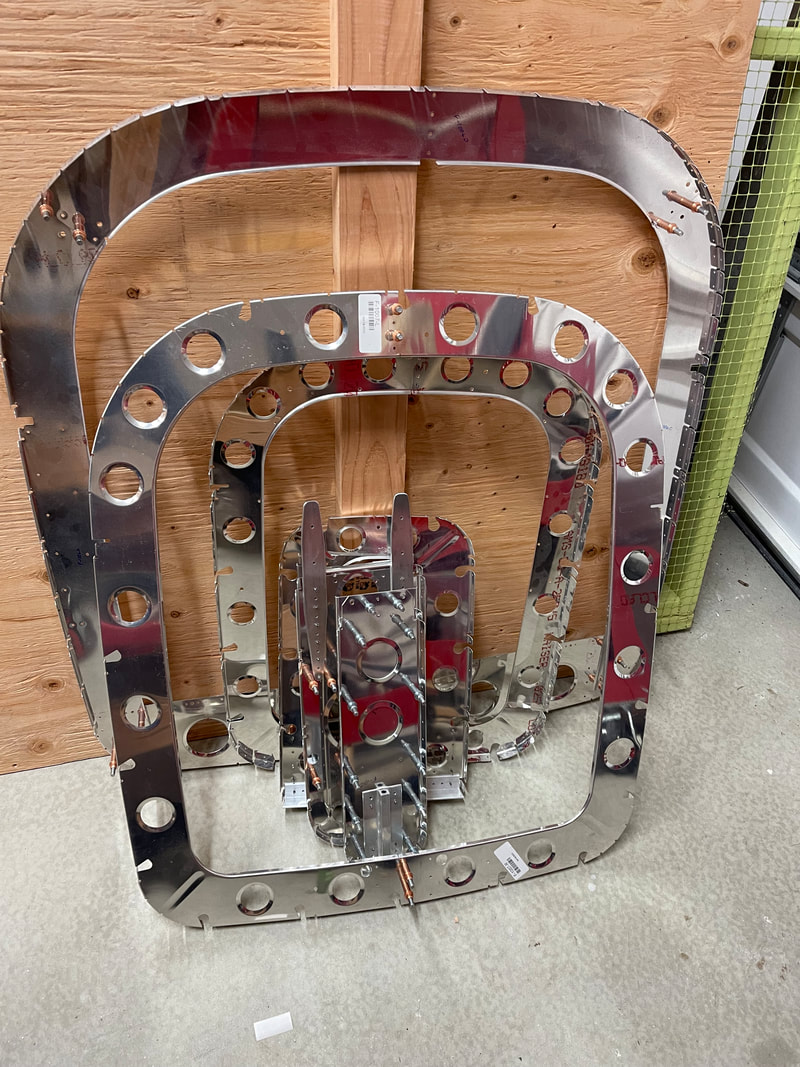
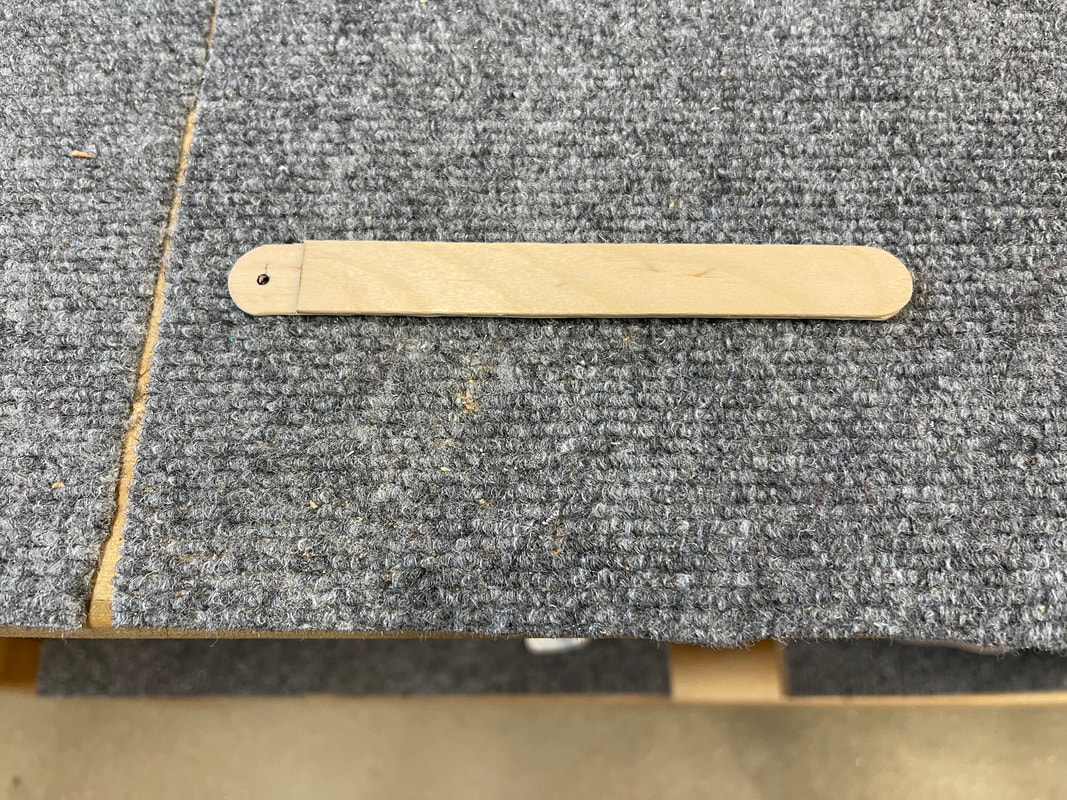
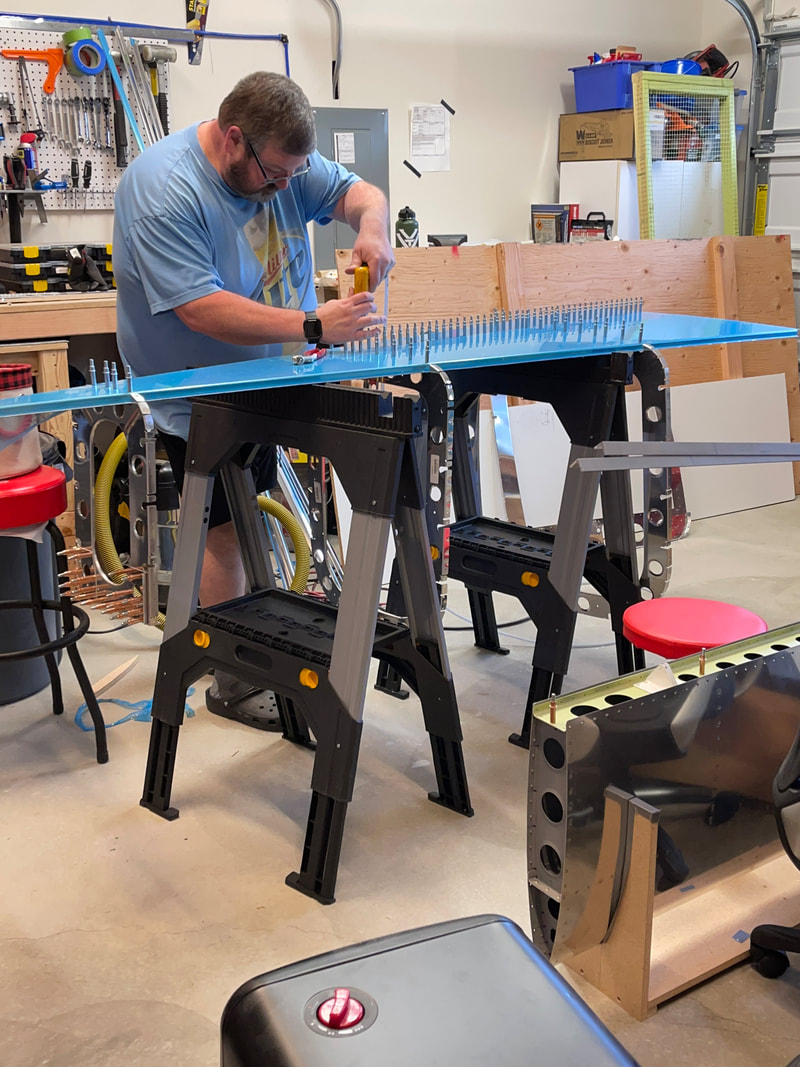
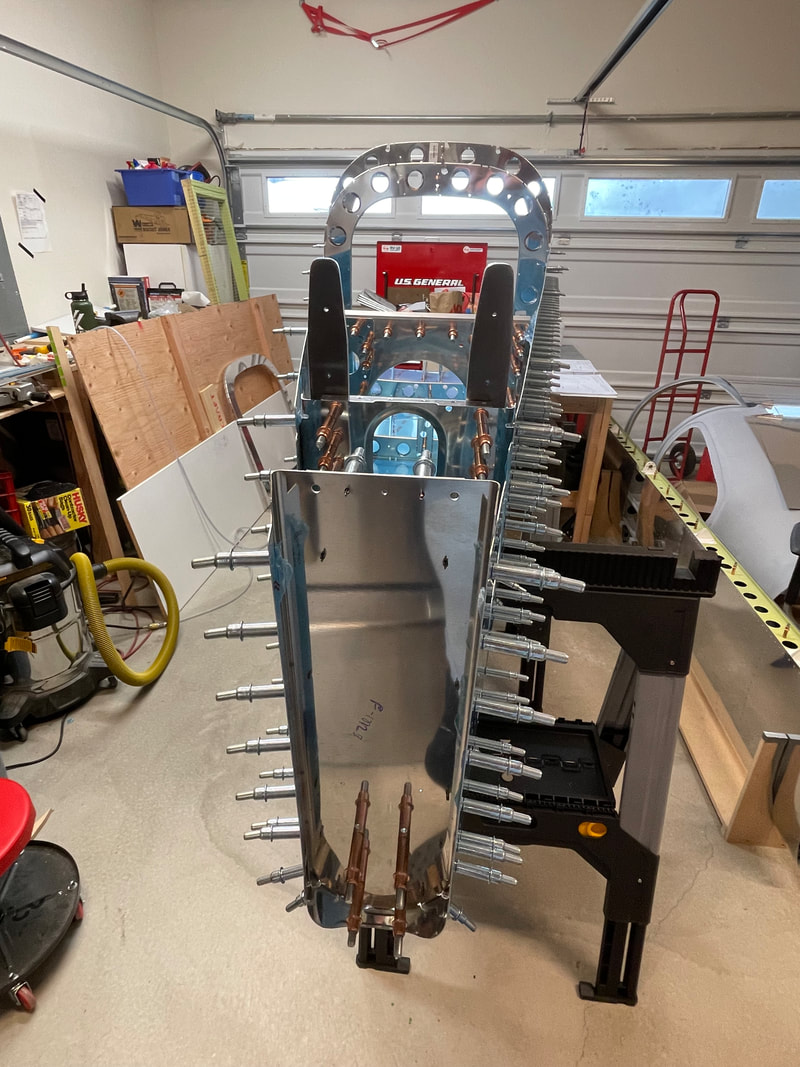
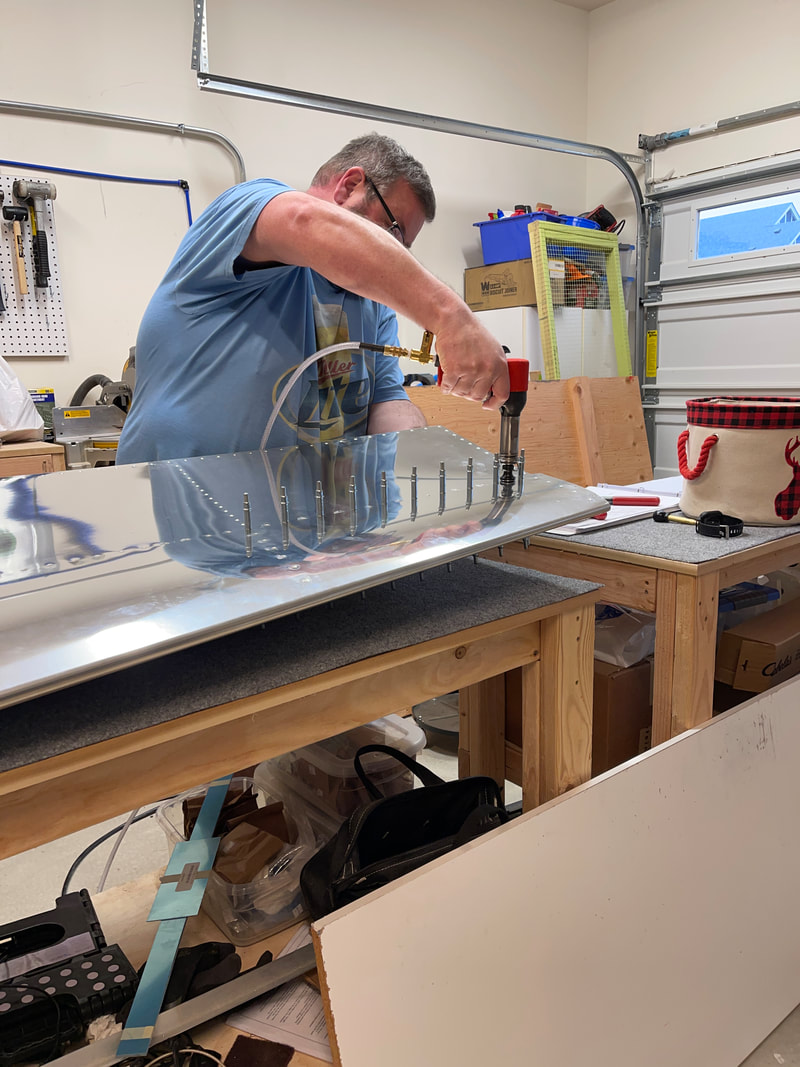
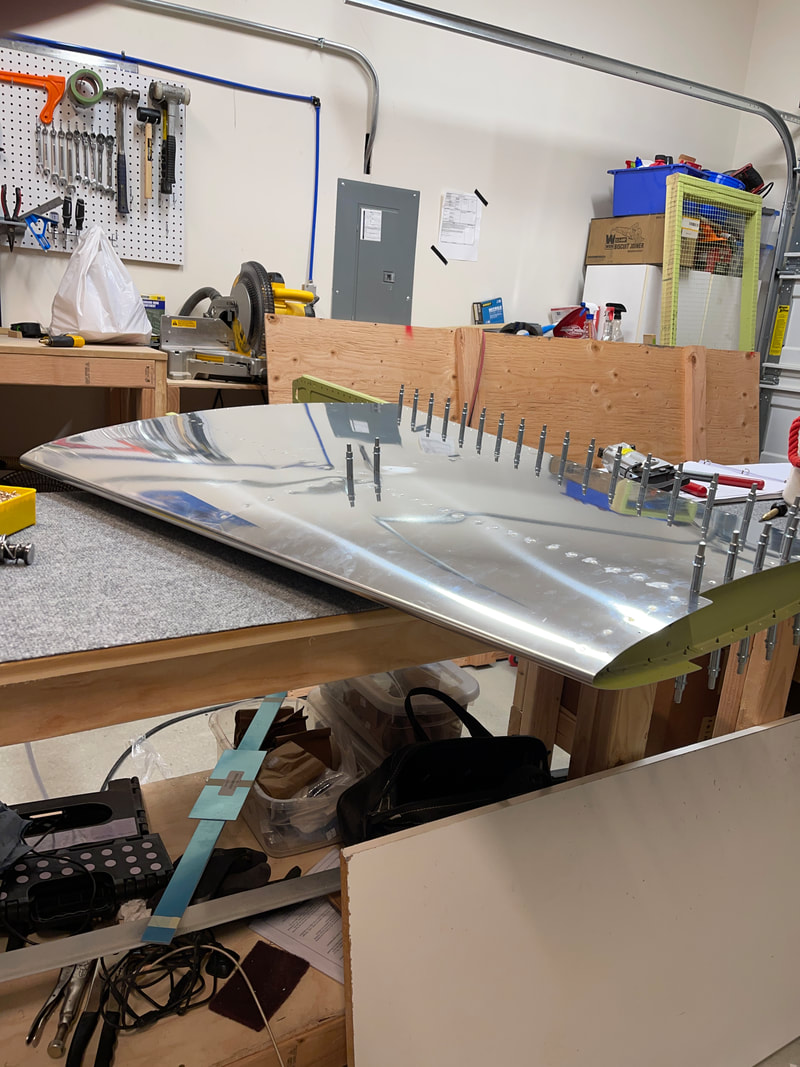
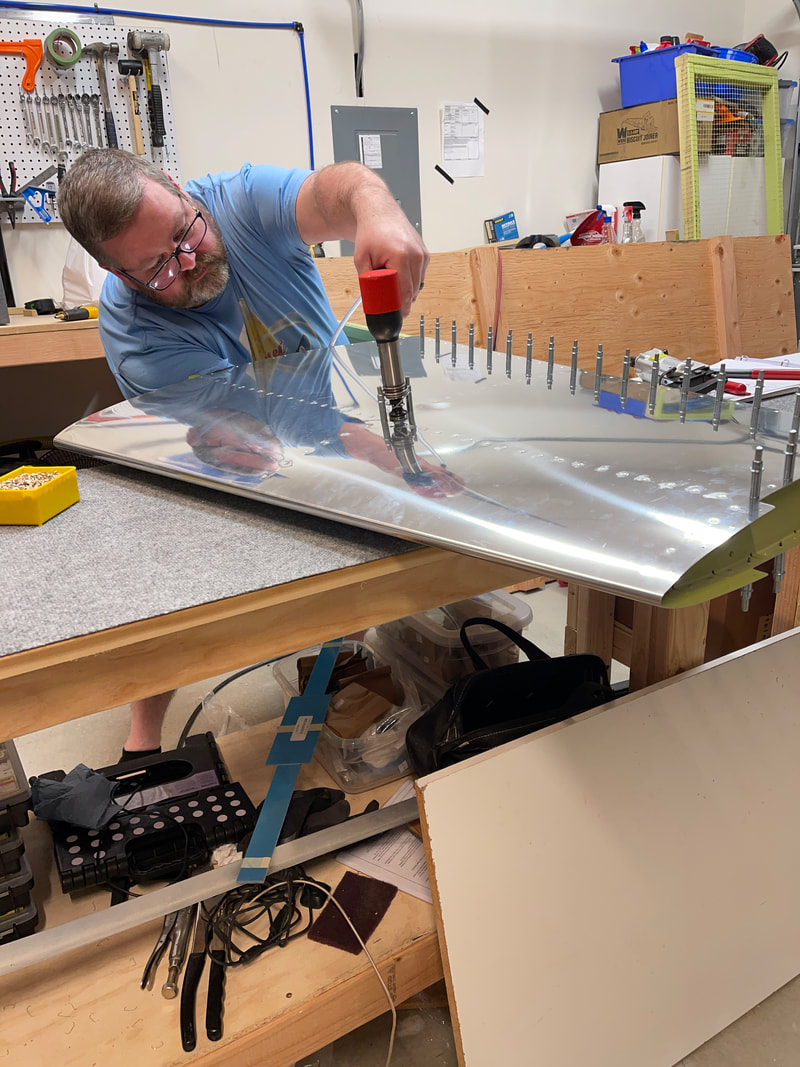
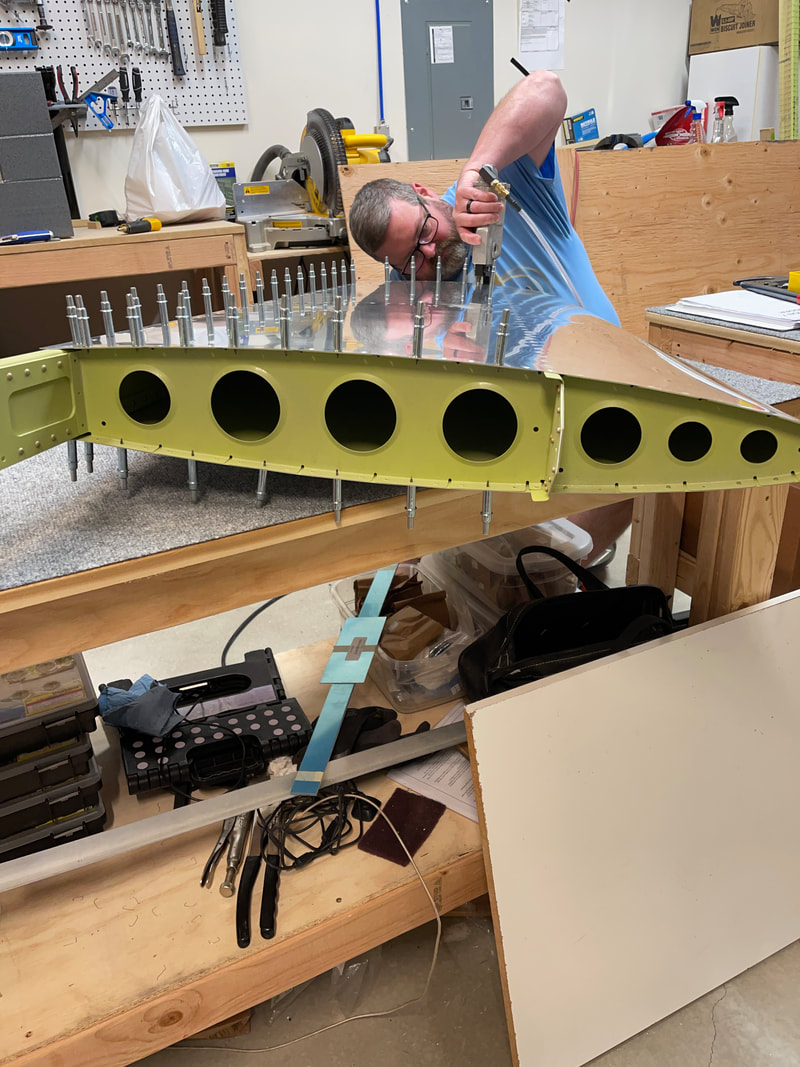
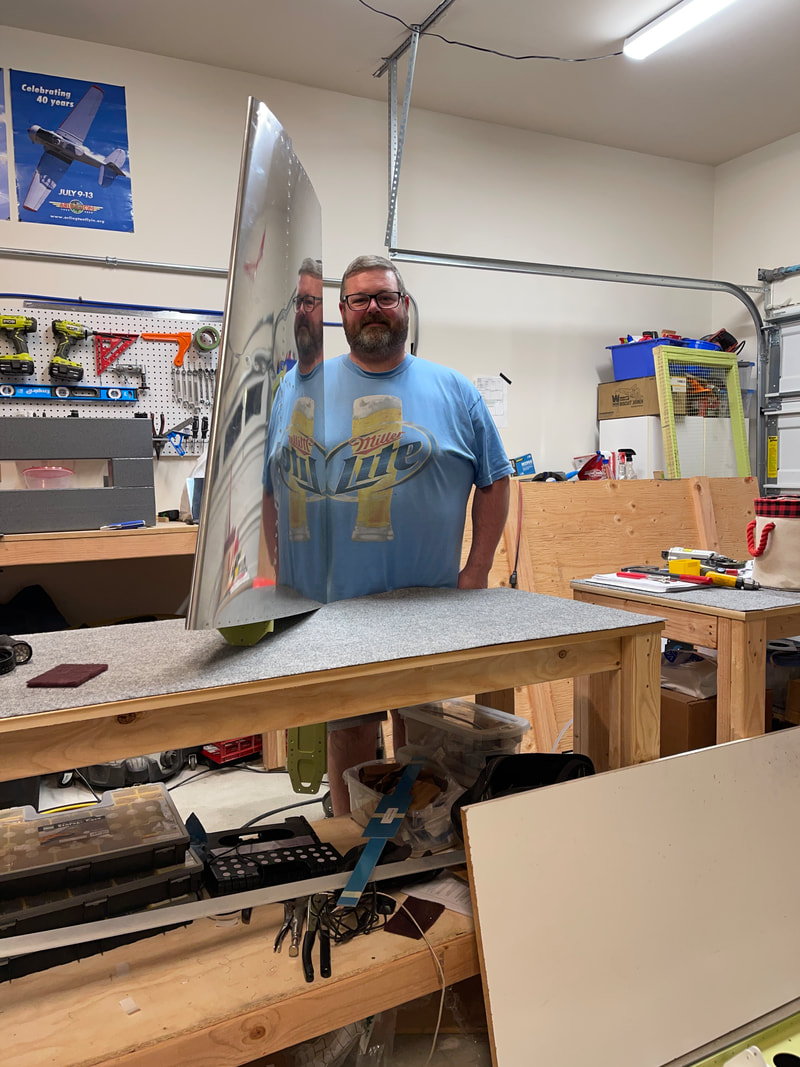
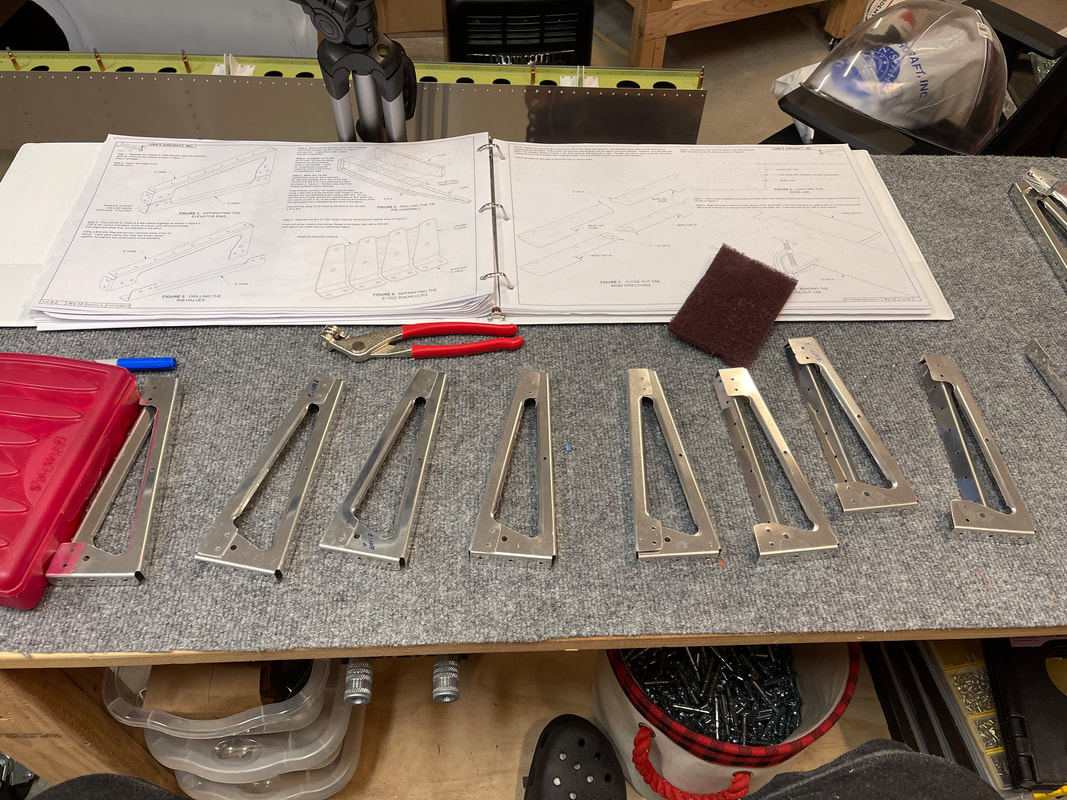
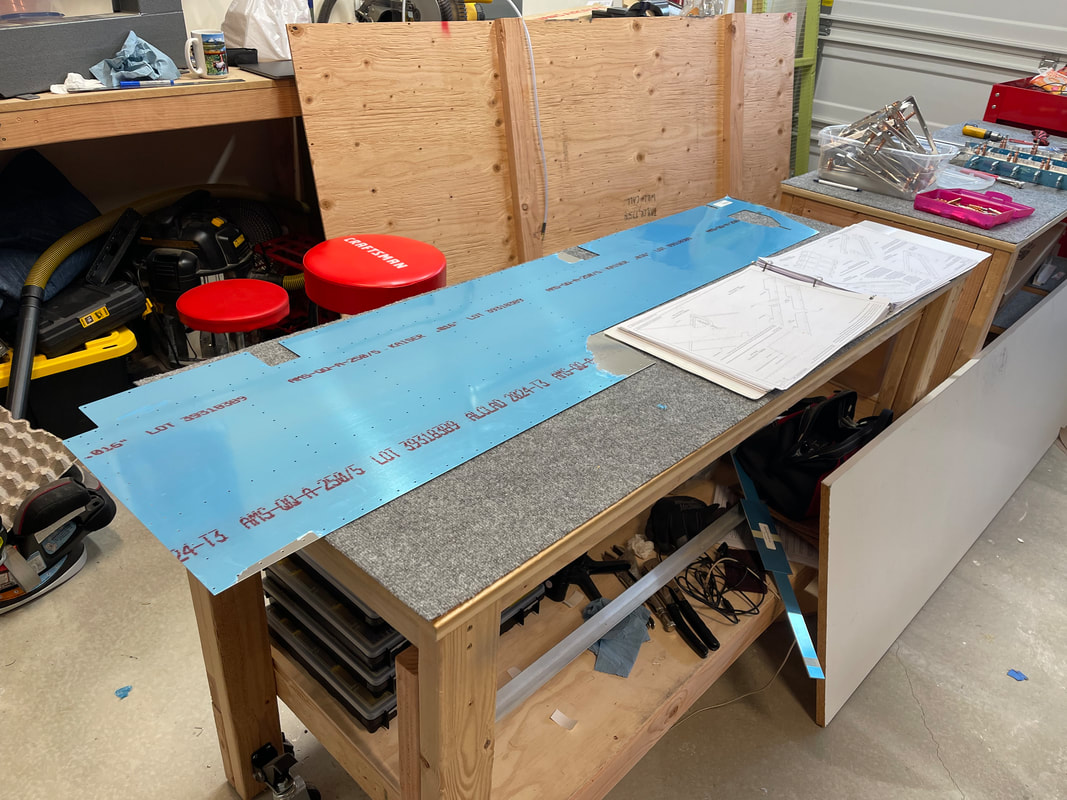
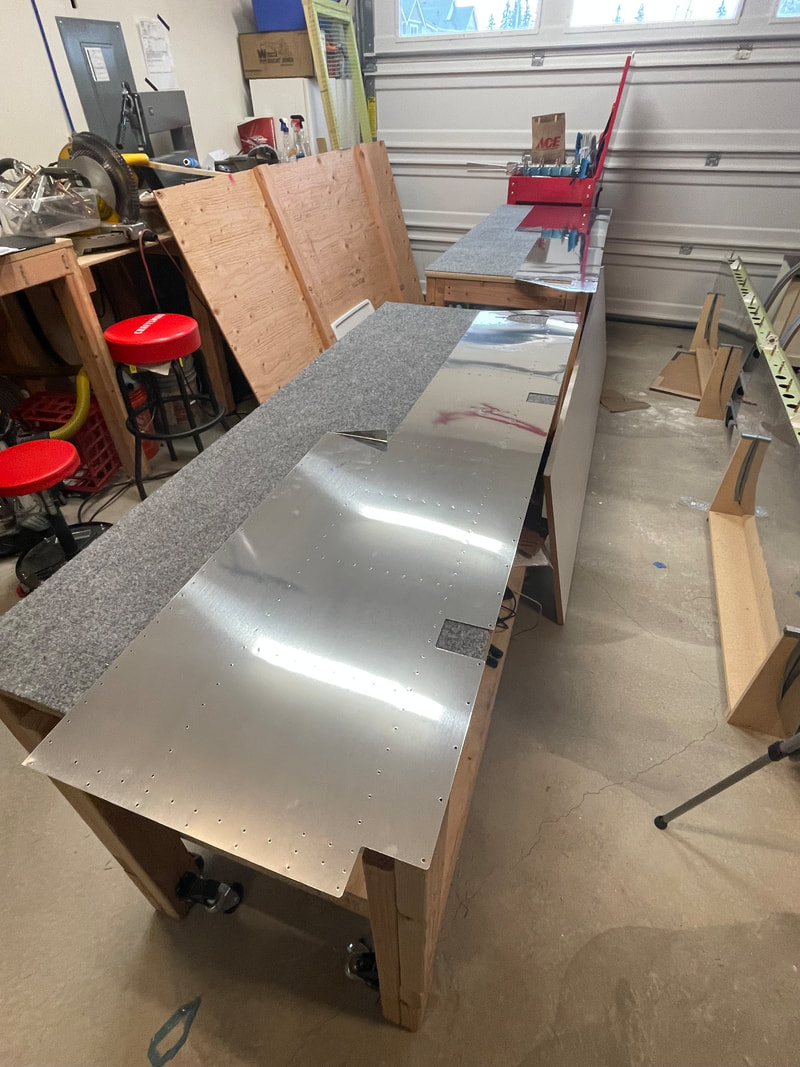
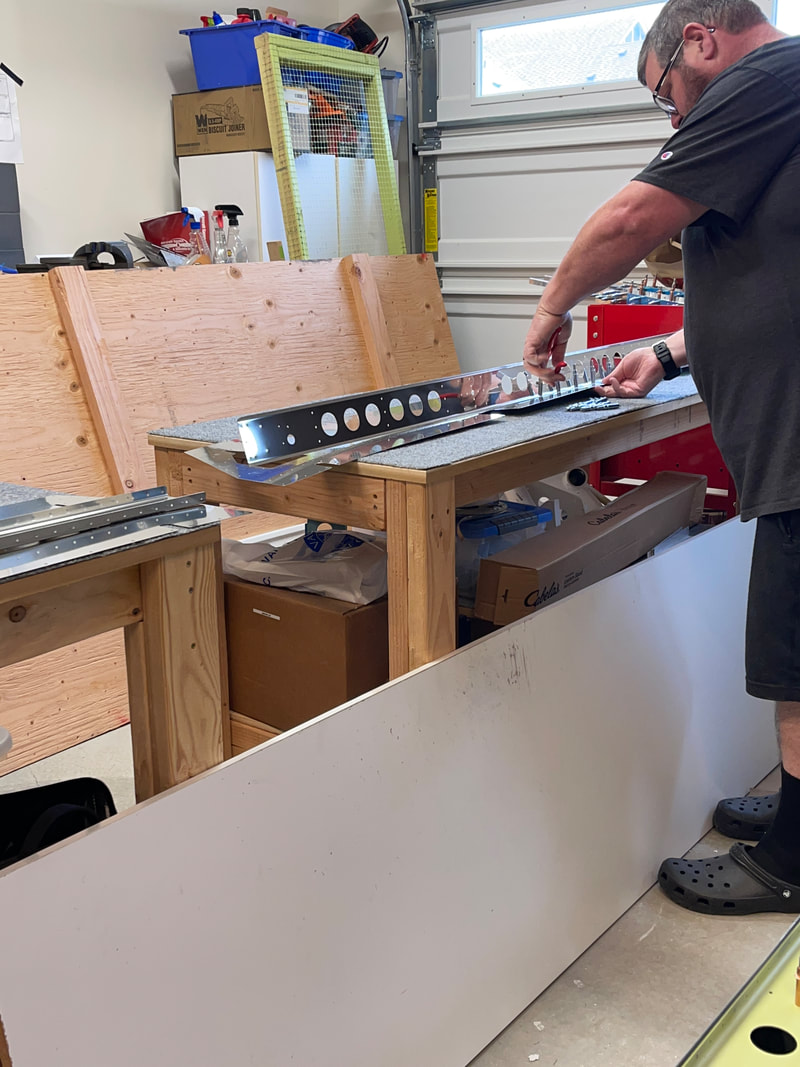
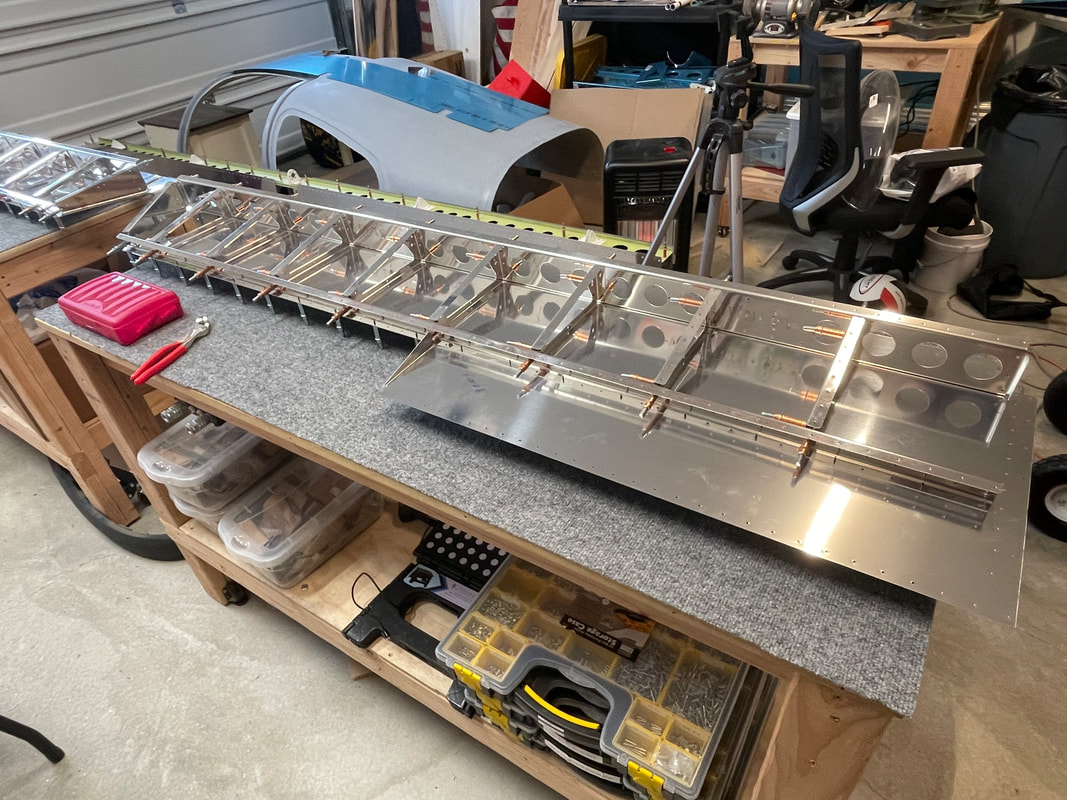
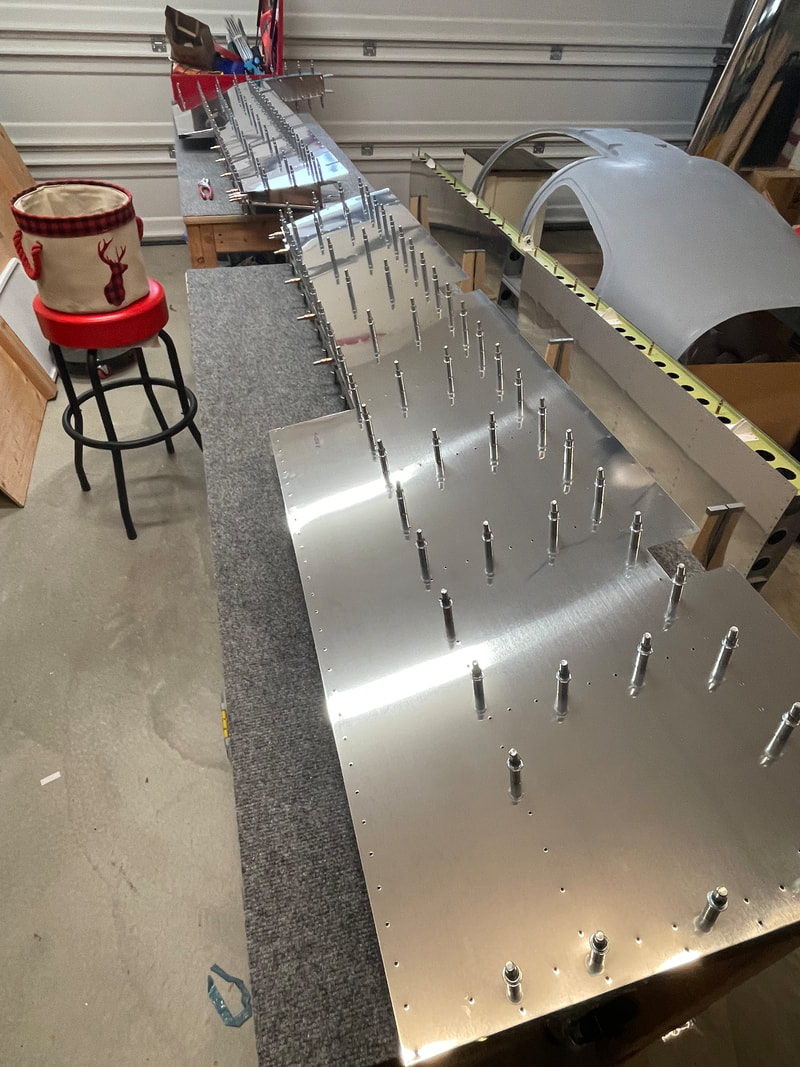
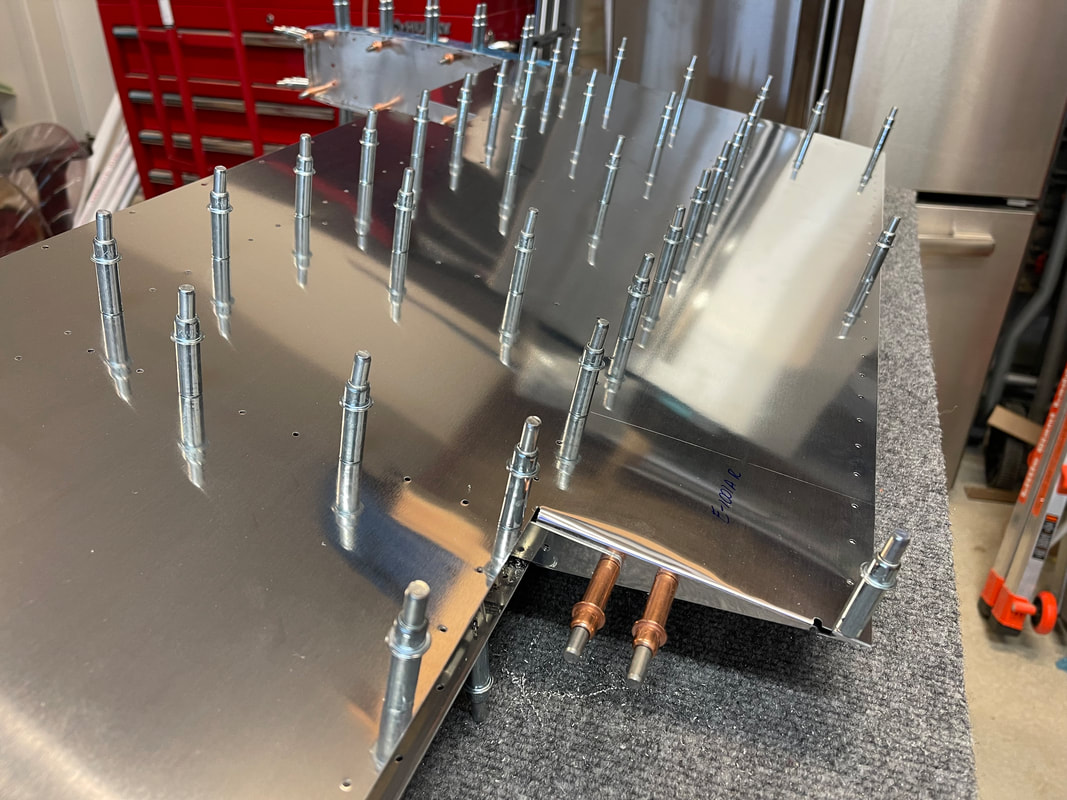
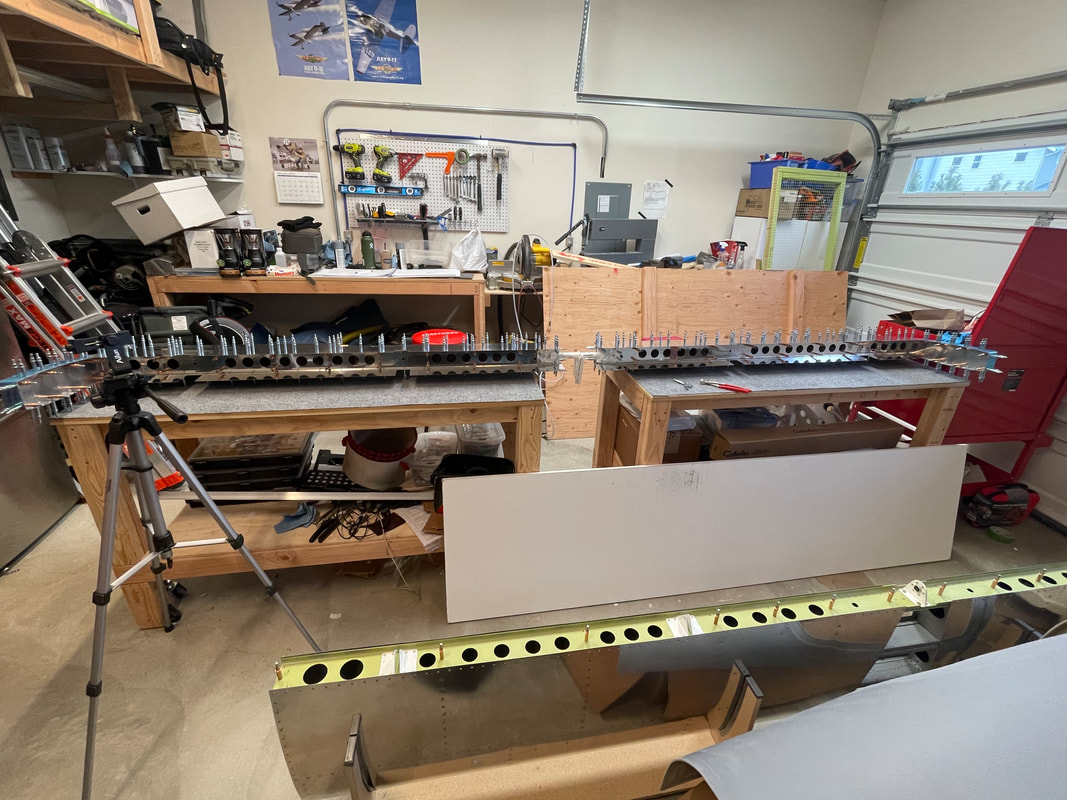
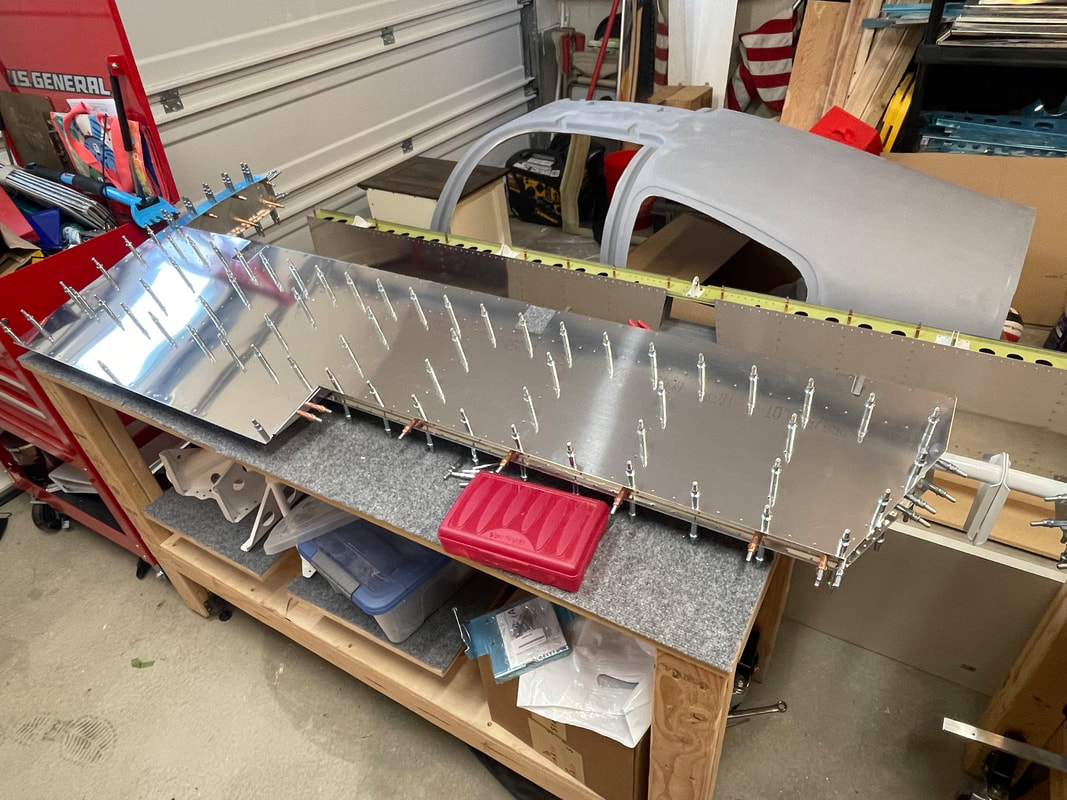
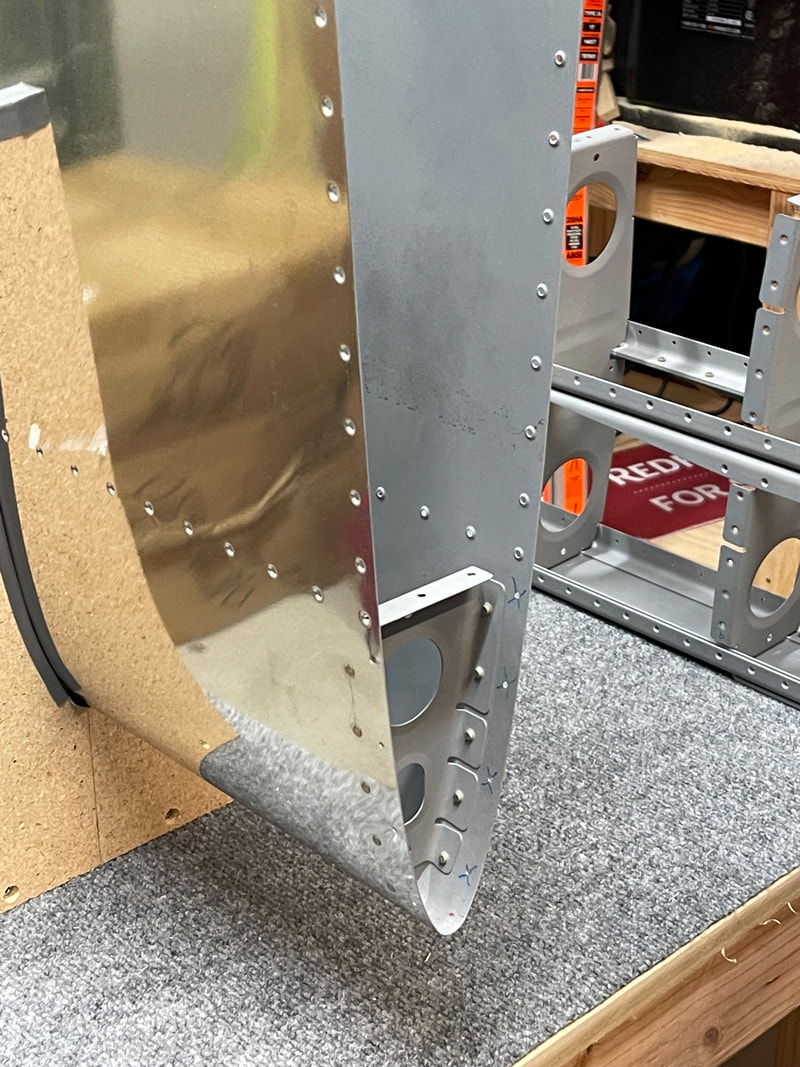
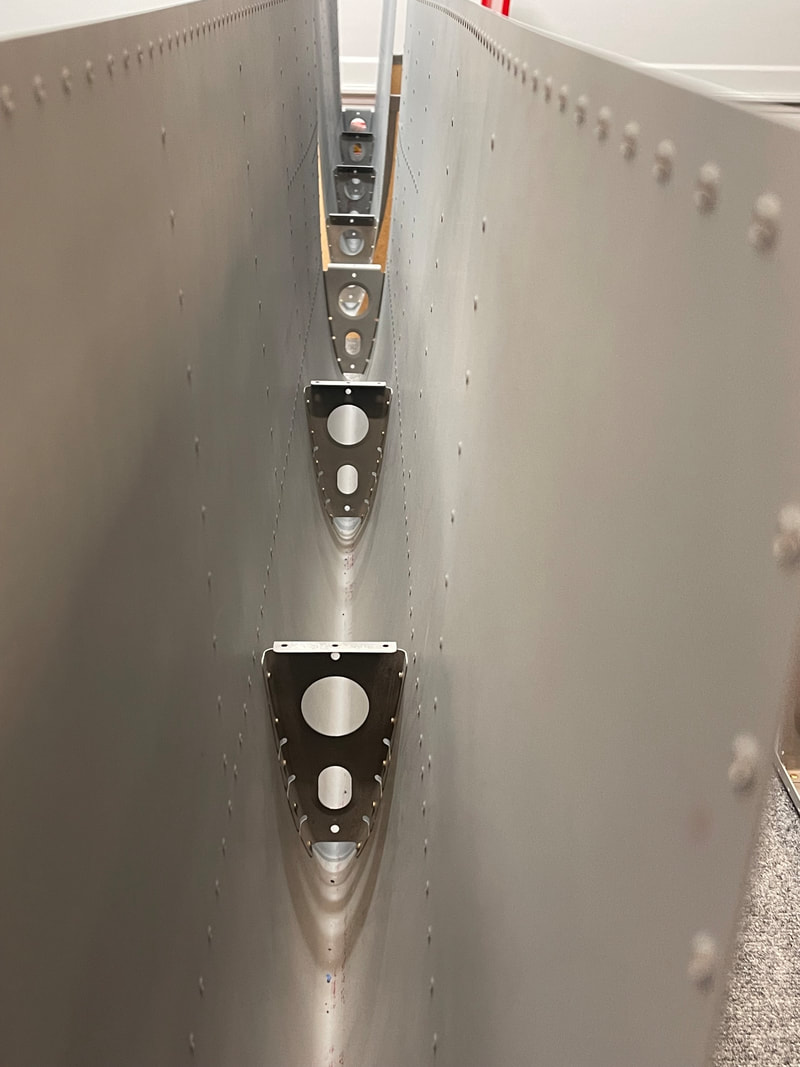
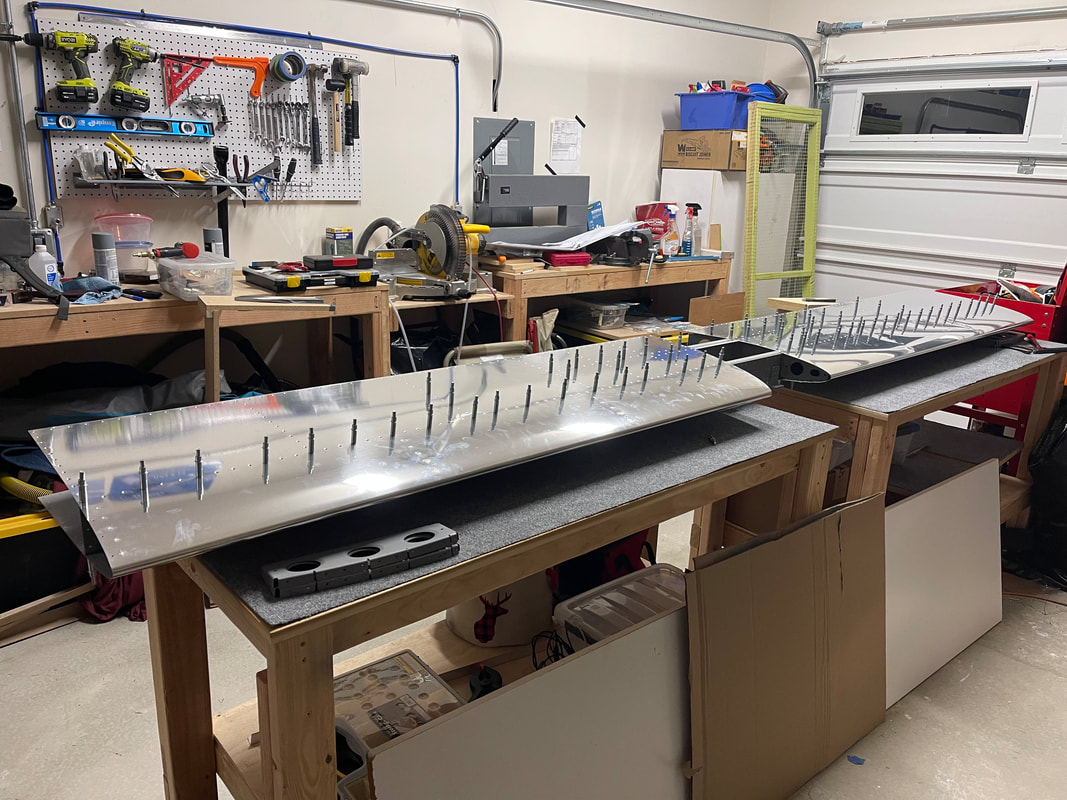
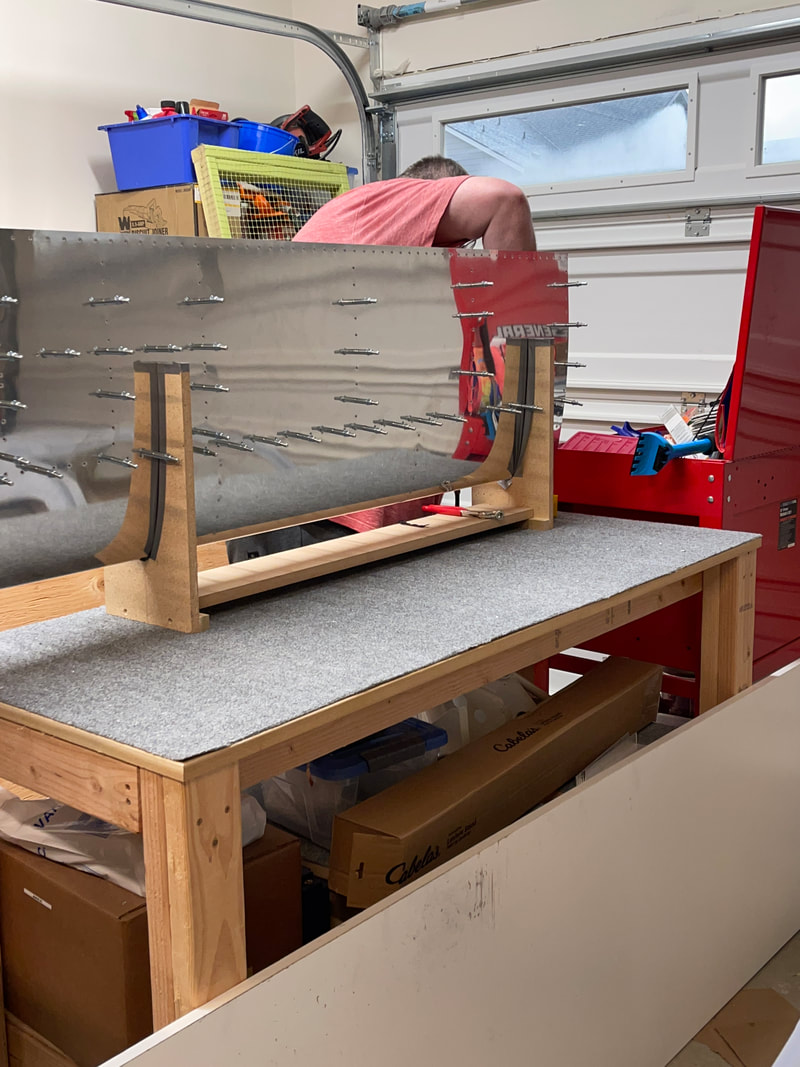
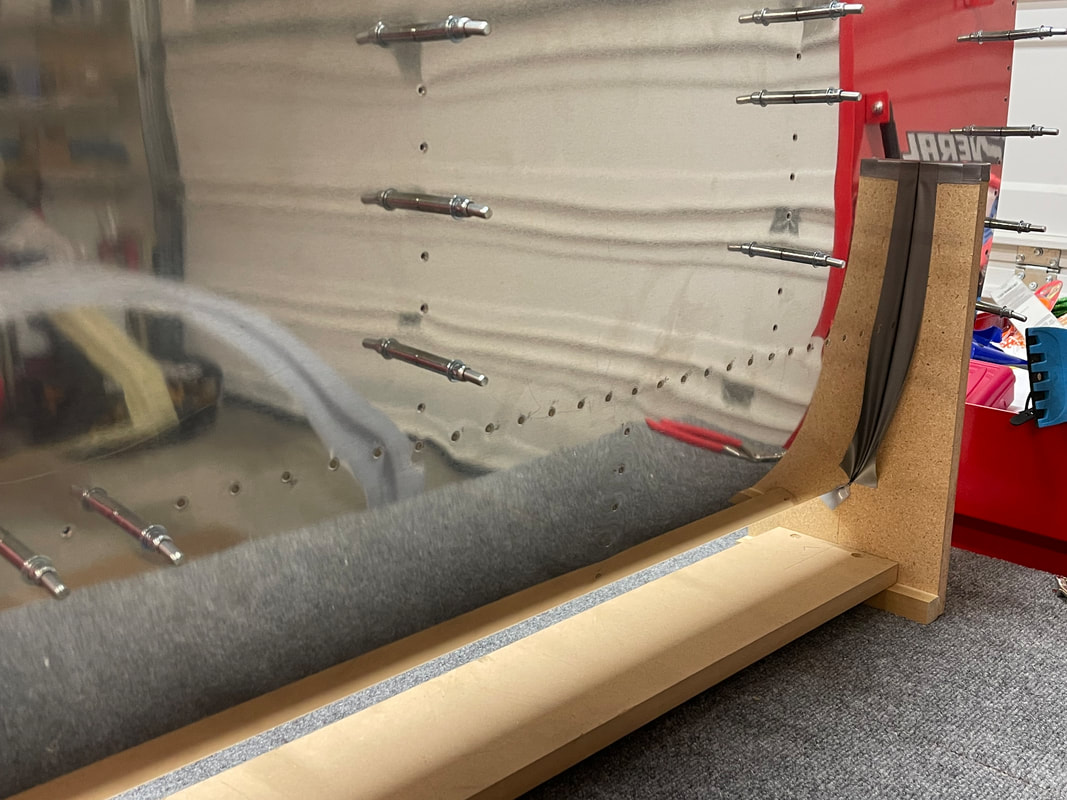
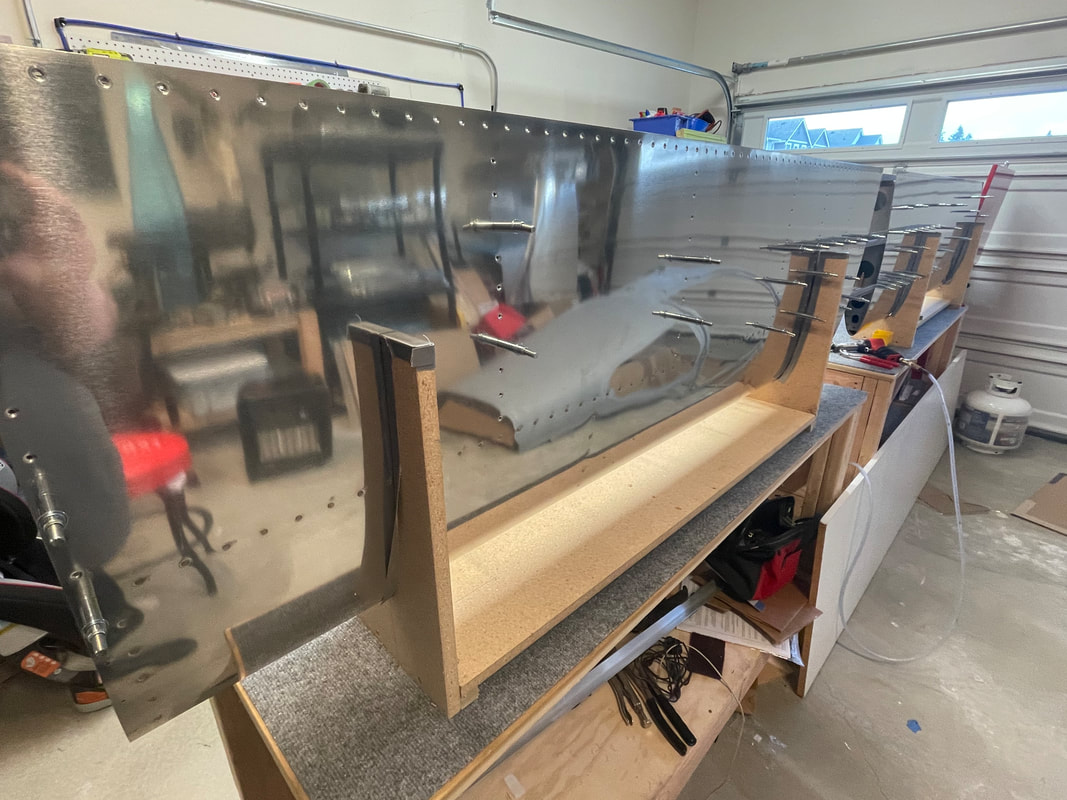
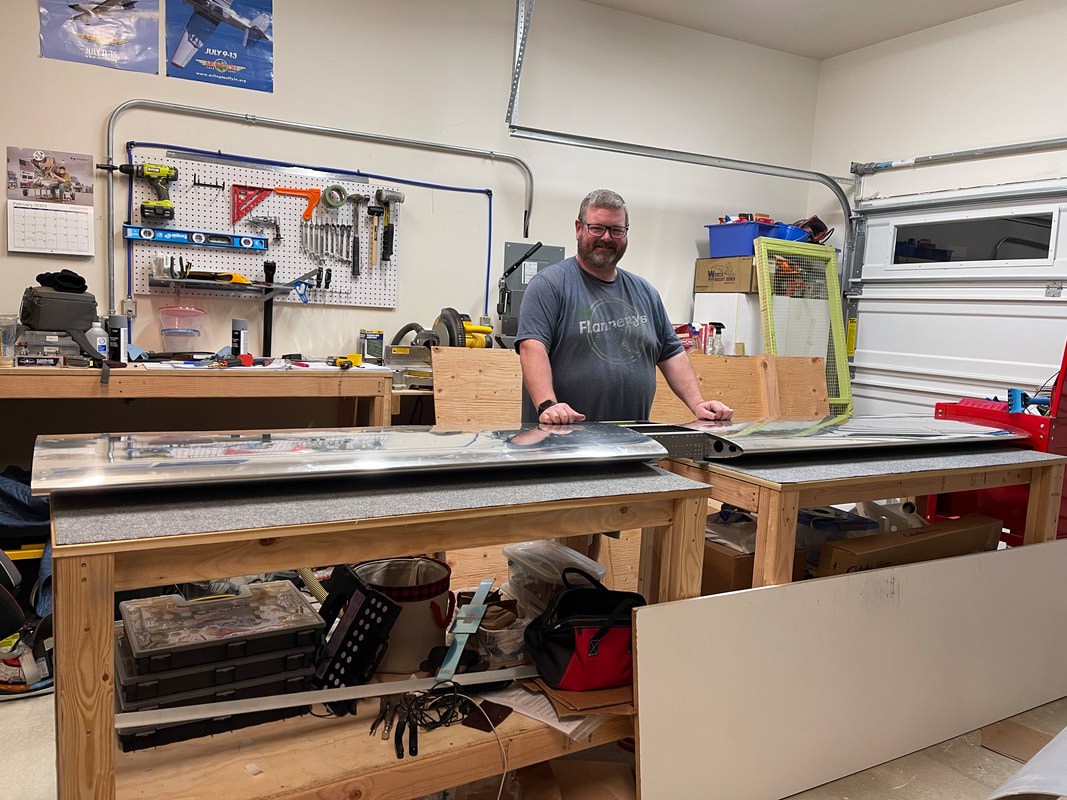
This was an exciting week of building! Seeing the tailcone start to take shape (for me) drives home the reality of what we're doing here. There were certainly some monotonous times as well with the cutting of j-channels and then match-drilling them to the skins. For marking the line along the length of the j-channels, I did steal an idea I'd seen online. I super glued two popsicle sticks together with the bottom one cut square and offset 5/16" from a #40 hole. I was then able to poke a Sharpie through the hole and run this makeshift jig along the edge of the j-channel. Wasn't perfect, but was far better than piecing together lines from a straightedge. As for the actual match-drilling, it seemed like the holes went on forever. Still not done with that; have the left side to finish on my next outing. I did make one bonehead mistake. In section 10-6, step 1, you are to cut two pieces of aluminum angle stock to size, then make seperate marks where you will bend it and where you will drill a pilot hole to make a notch in the material. On the first one, I made the marks at 20 11/16" for the bend and at 7 7/16" for the pilot hole. When I went to mark the 15/32" edge distance for the pilot, I erroneously made it on the bend line and didn't catch it until after I'd drilled the #40 hole. I flipped the part end-over-end and proceeded on since it wasn't bent. Still waiting on confirmation from Van's tech support as to whether this will be acceptable, or if I have to replace the part. Otherwise, things are moving along smartly! Spent the first part of this period riveting the vertical stab that has been sitting around with just clekos for a while now. Completing the horizontal gave me the courage to attempt riveting it by myself. Pretty happy with the result. Worked some on Friday night prepping elevator ribs, then a good chunk of Saturday basically assembling the elevators. Got up through 9-7, Step 2 before calling it quits. Not much more fabrication left before it all comes apart to prep for final assembly. Work on the project has been a little sporradic of the last month due to a long weekend away to check out the beautiful scenery in Utah, attending high school wrestling matches and tournaments, and pickup and inventory of our fuselage kit. In spite of the distractions I am happy to report that the horizontal stabilizer is FINISHED! Well, it's at least finished for now up to the last step of riveting on the rear spar. That will wait until Van's makes a final decision on the impact of Service Bulletin SB-00036 which relates to said spar and the elevator attach brackets. If I do indeed need to replace the brackets, it'll be much easier to do with the spar removed. For now, the HS will be relegated to wall art. On to final riveting of the vertical stab and then construction of the elevators! |
Archives
April 2023
Categories |


 RSS Feed
