|
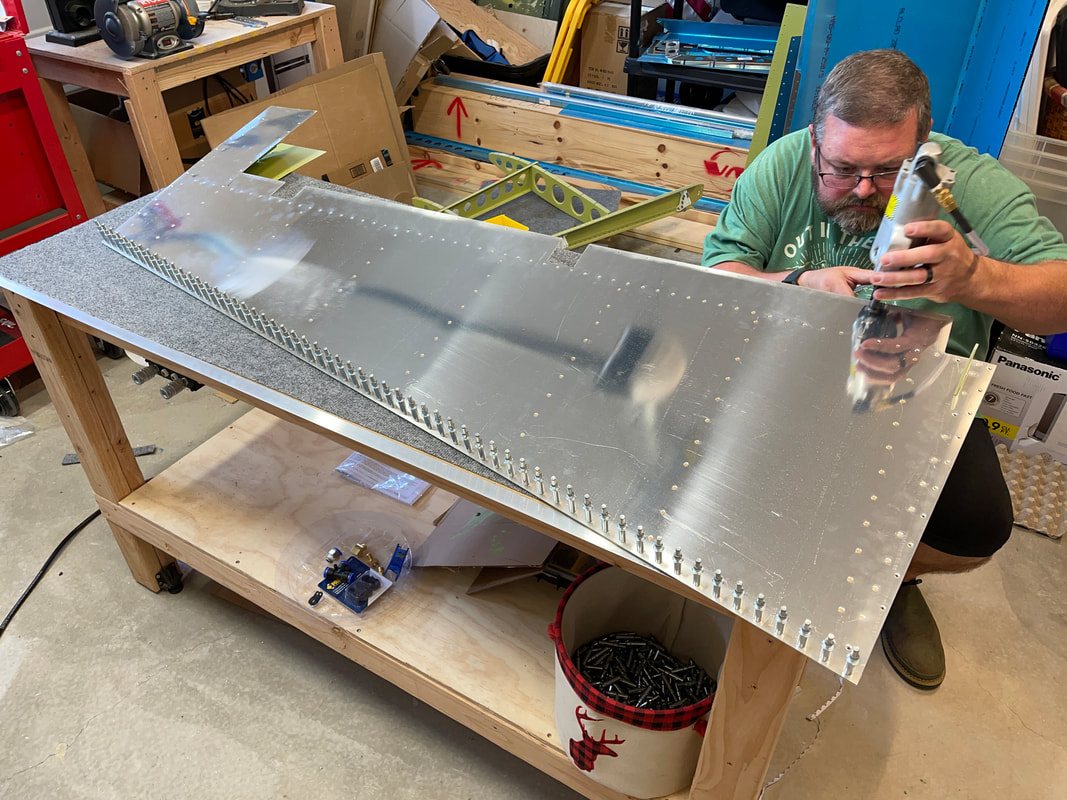
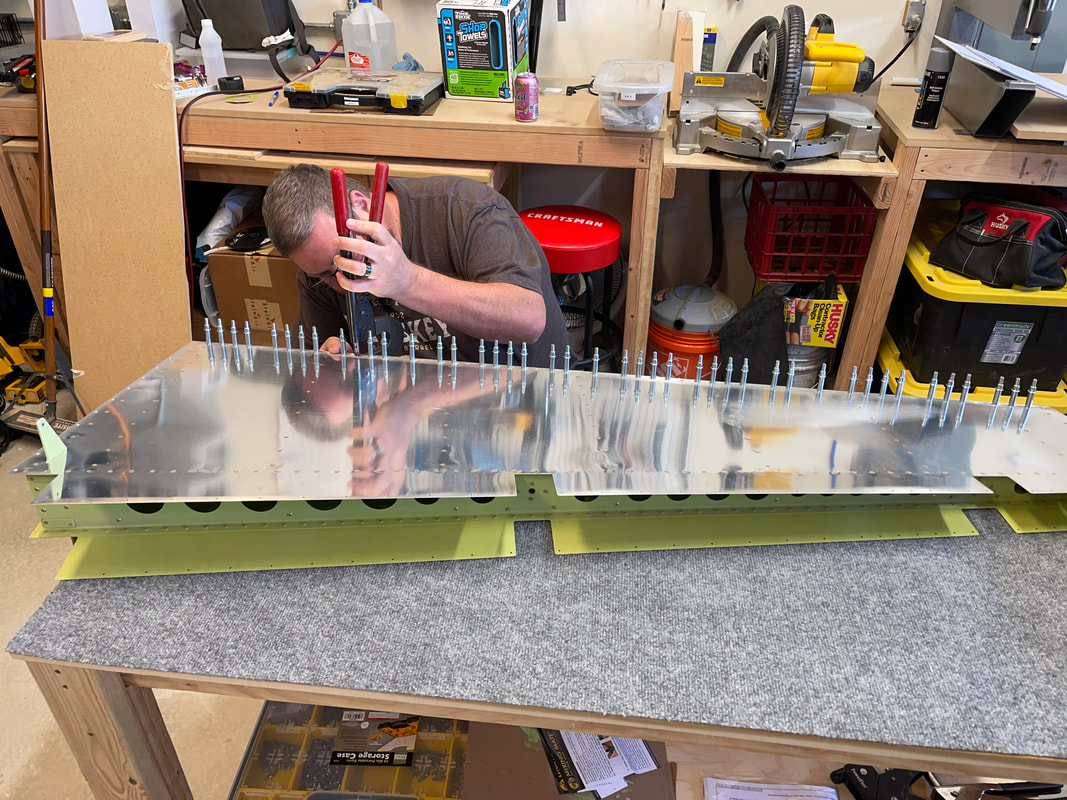
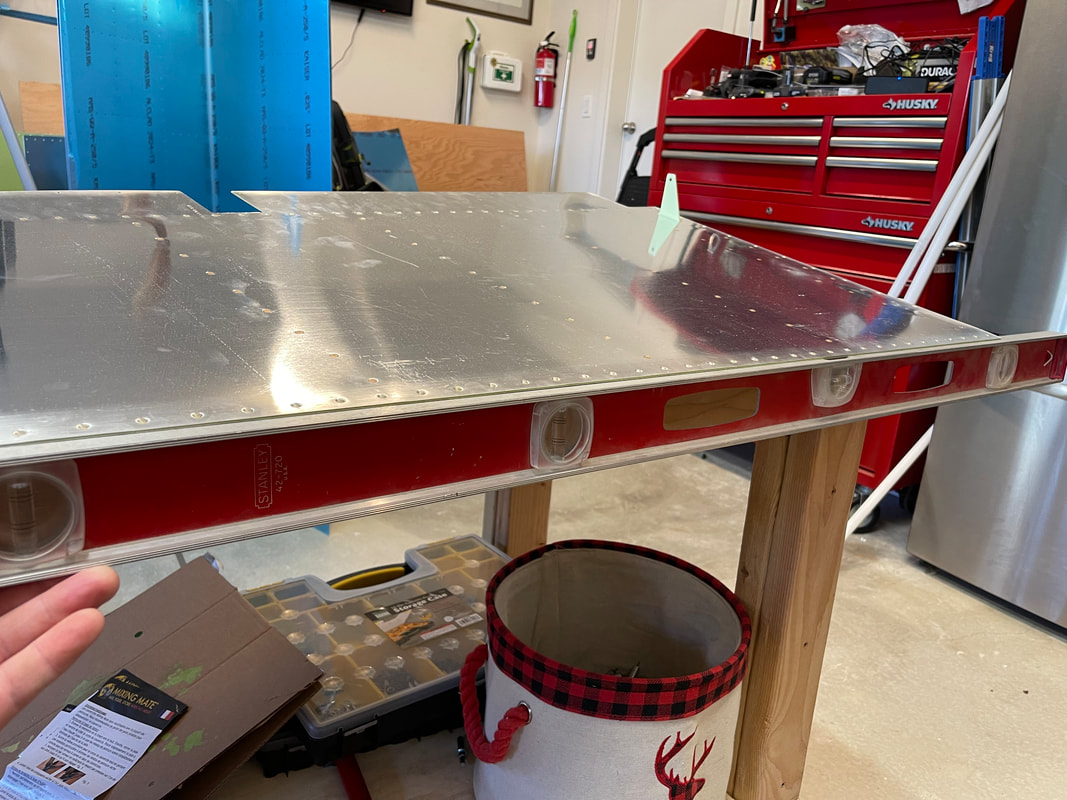
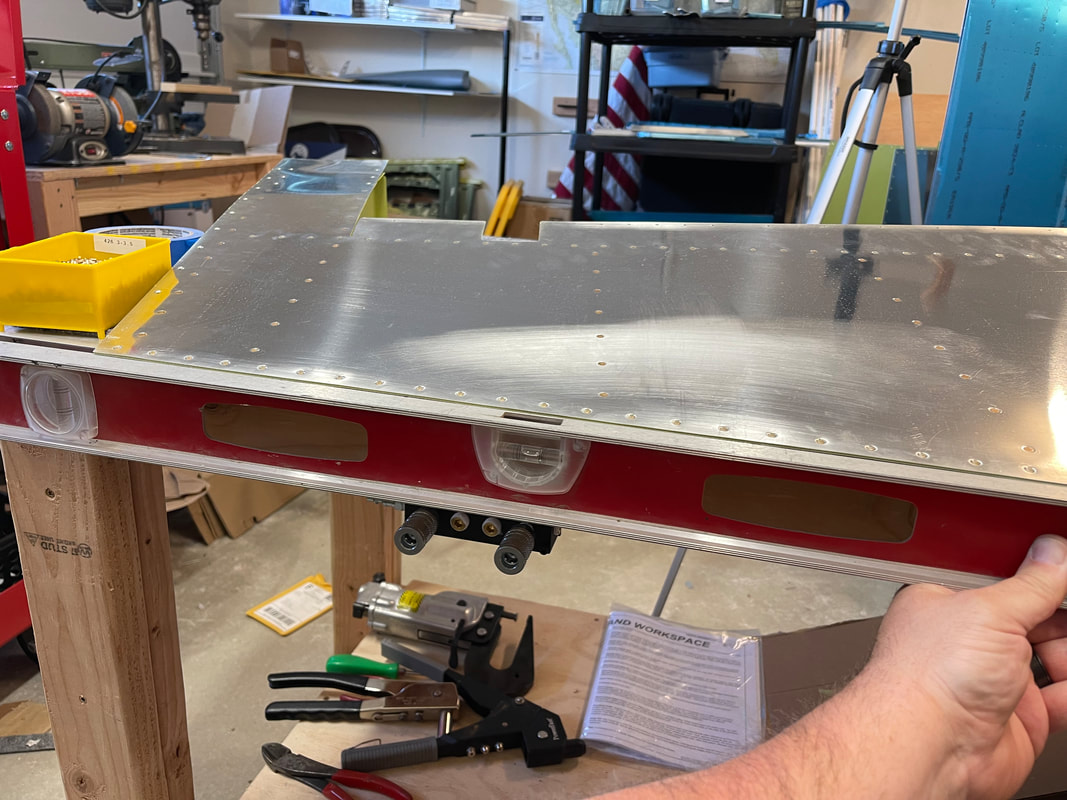
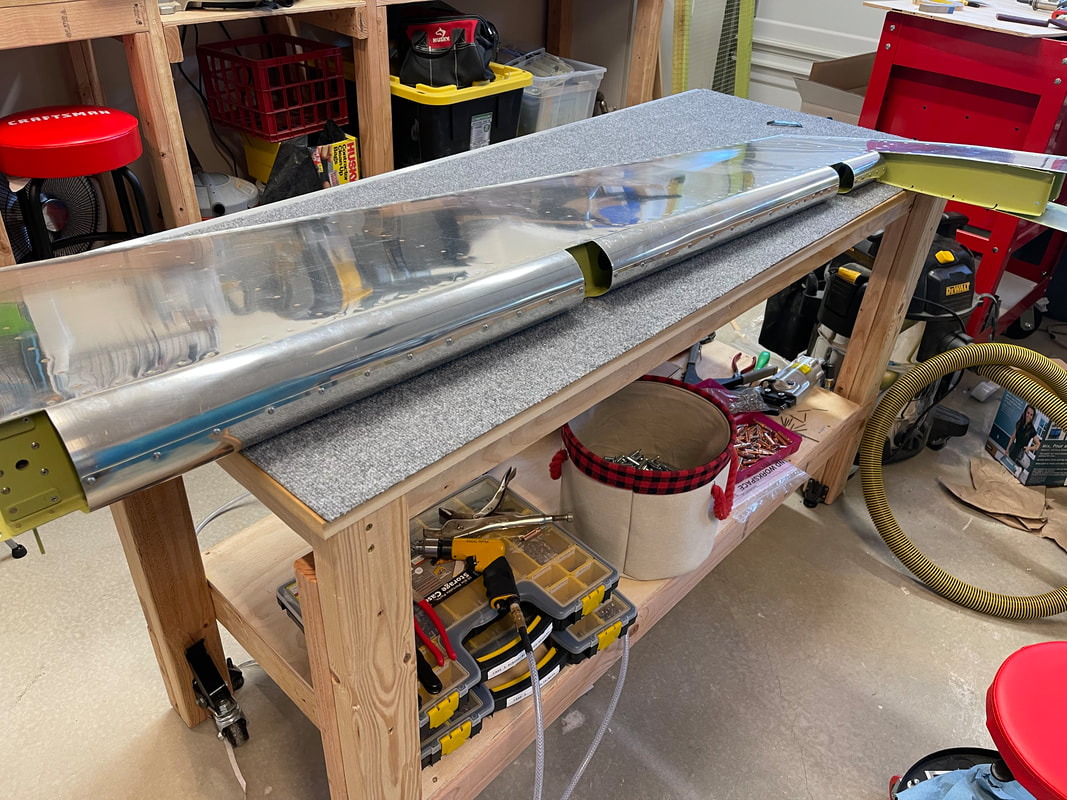
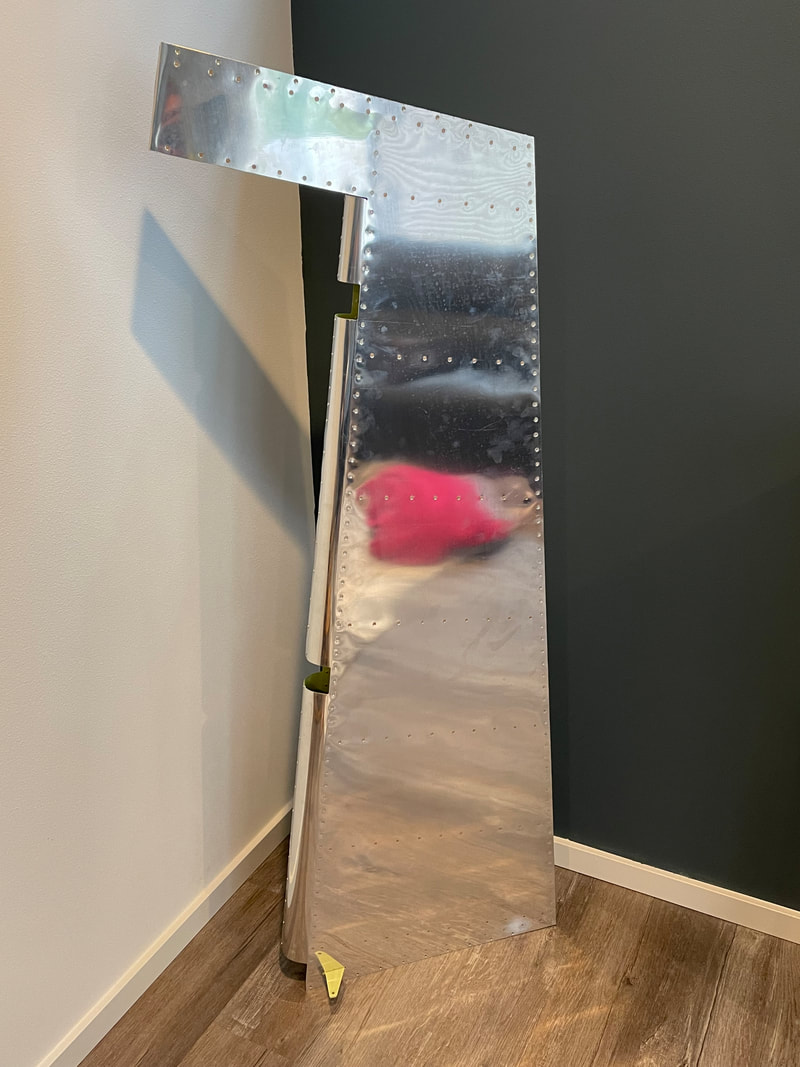
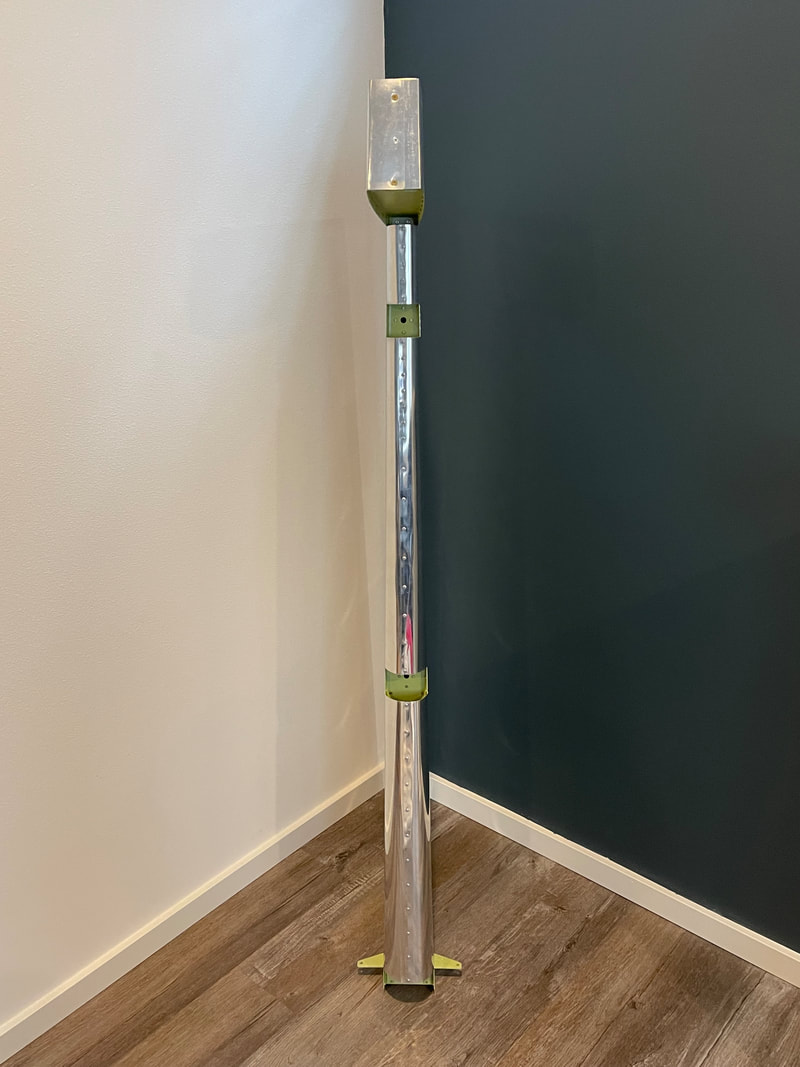
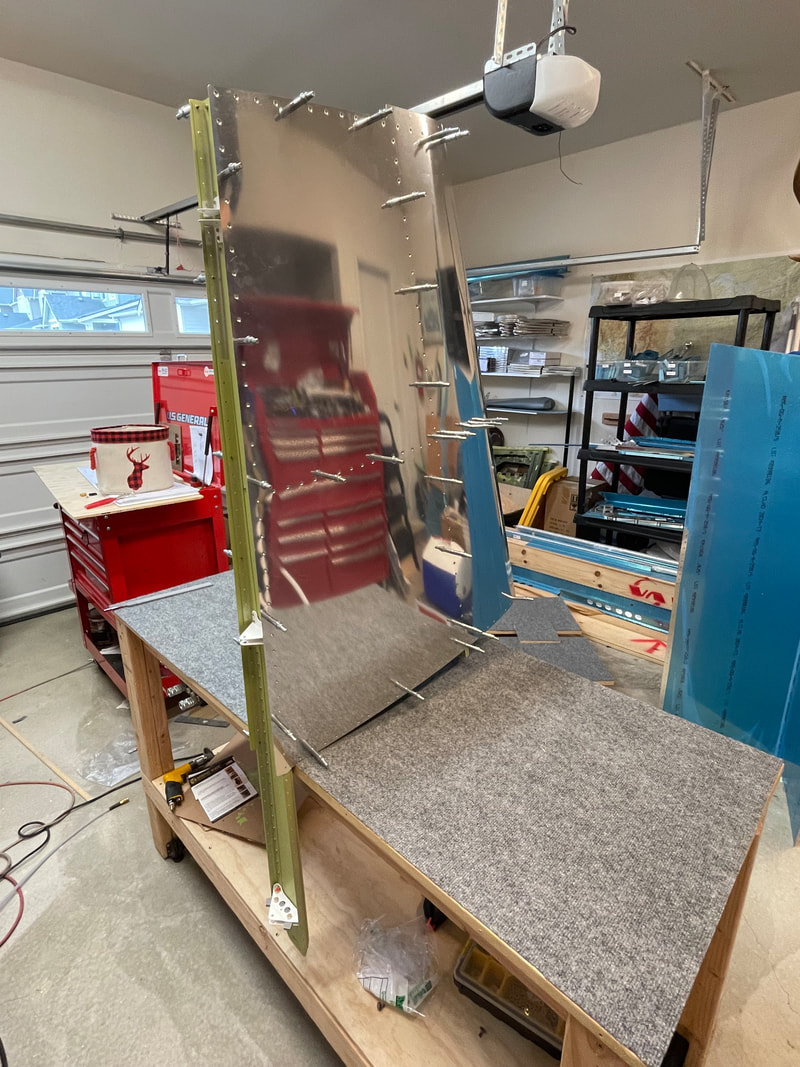
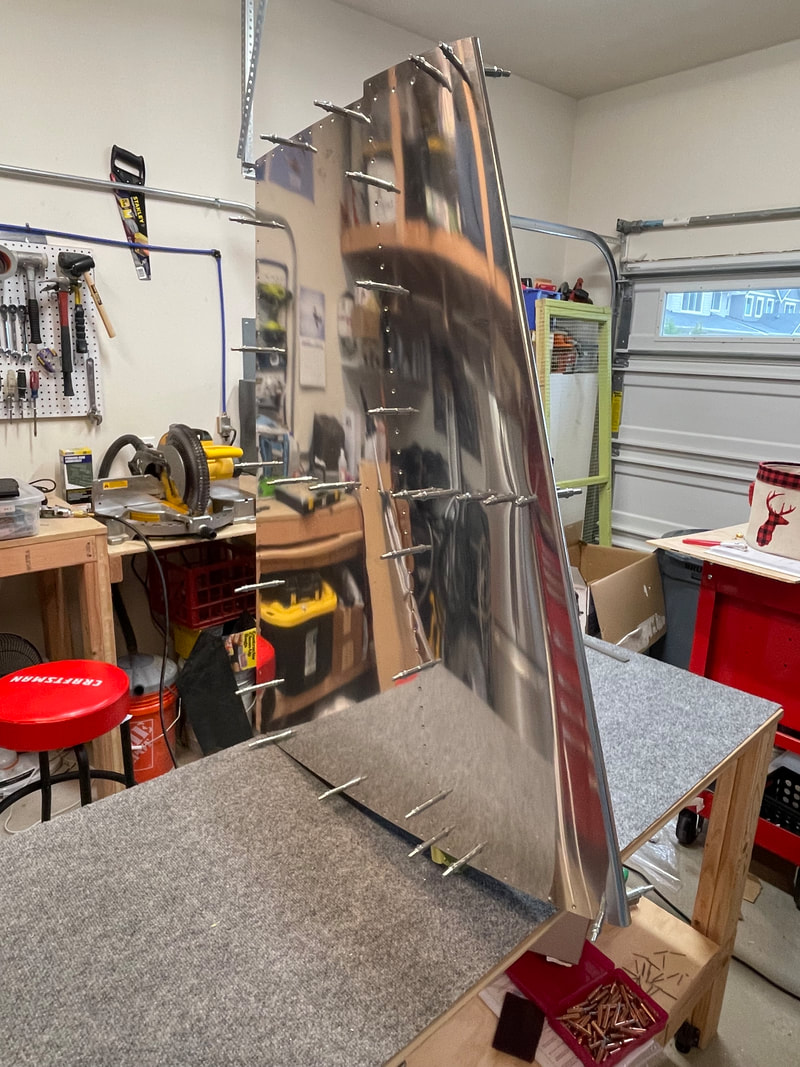
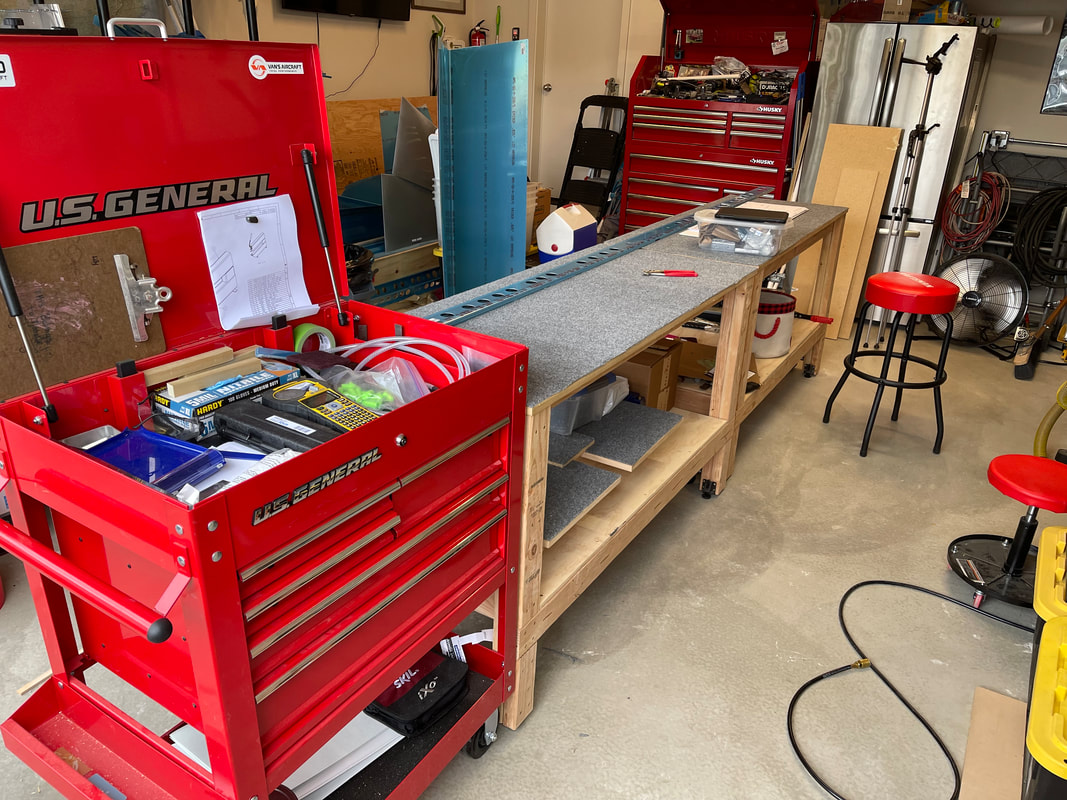
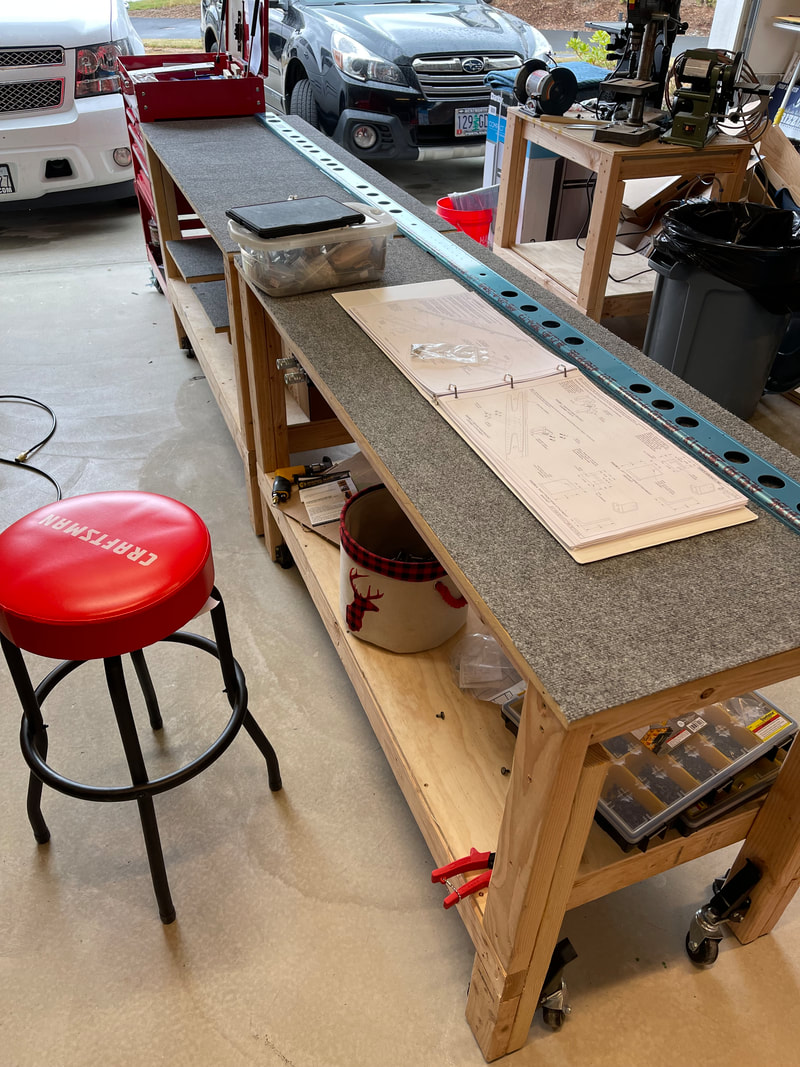
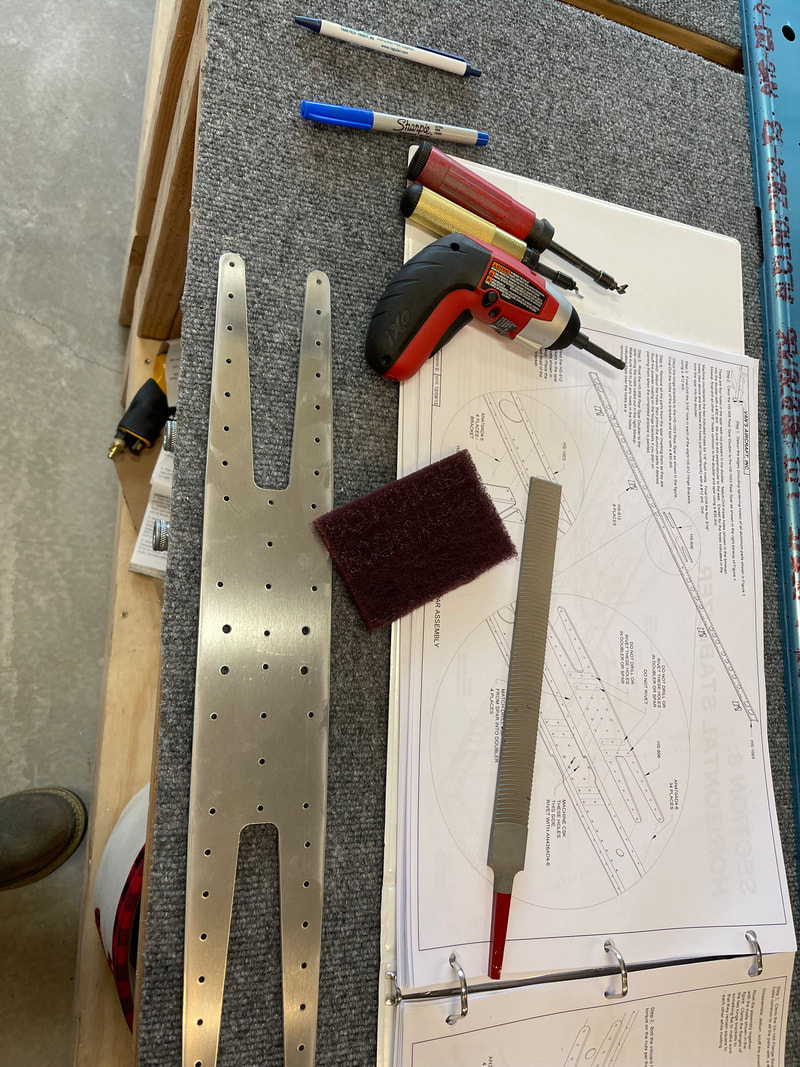
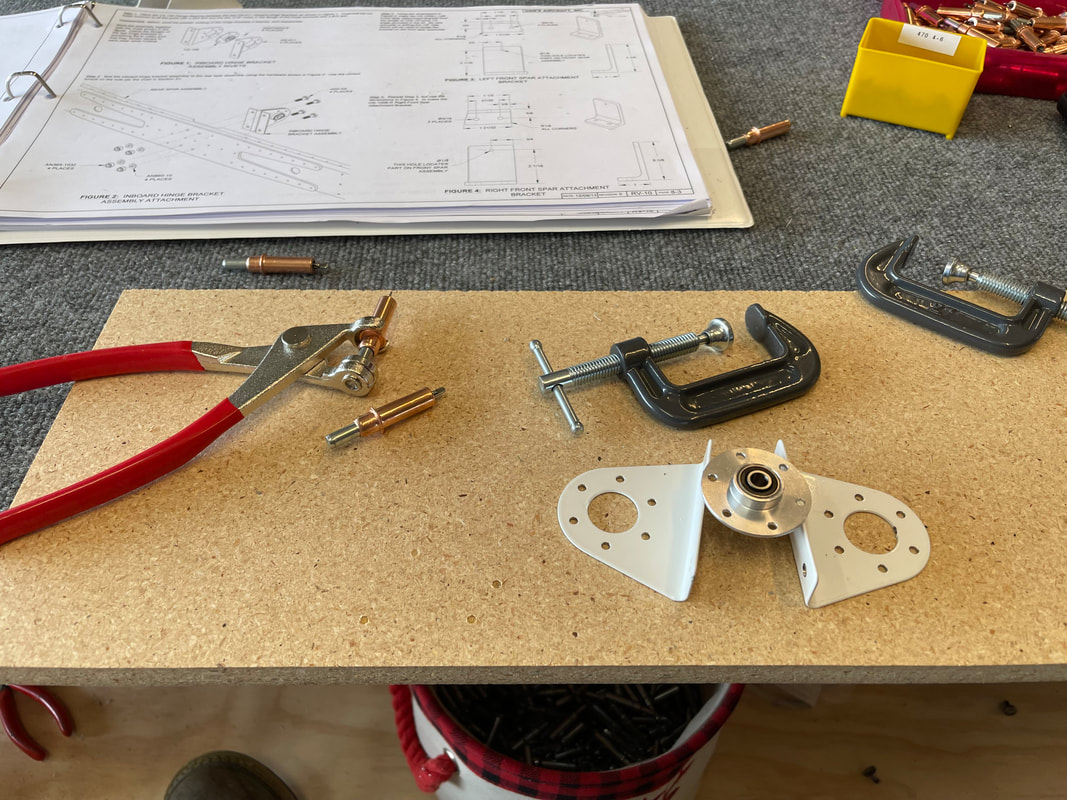
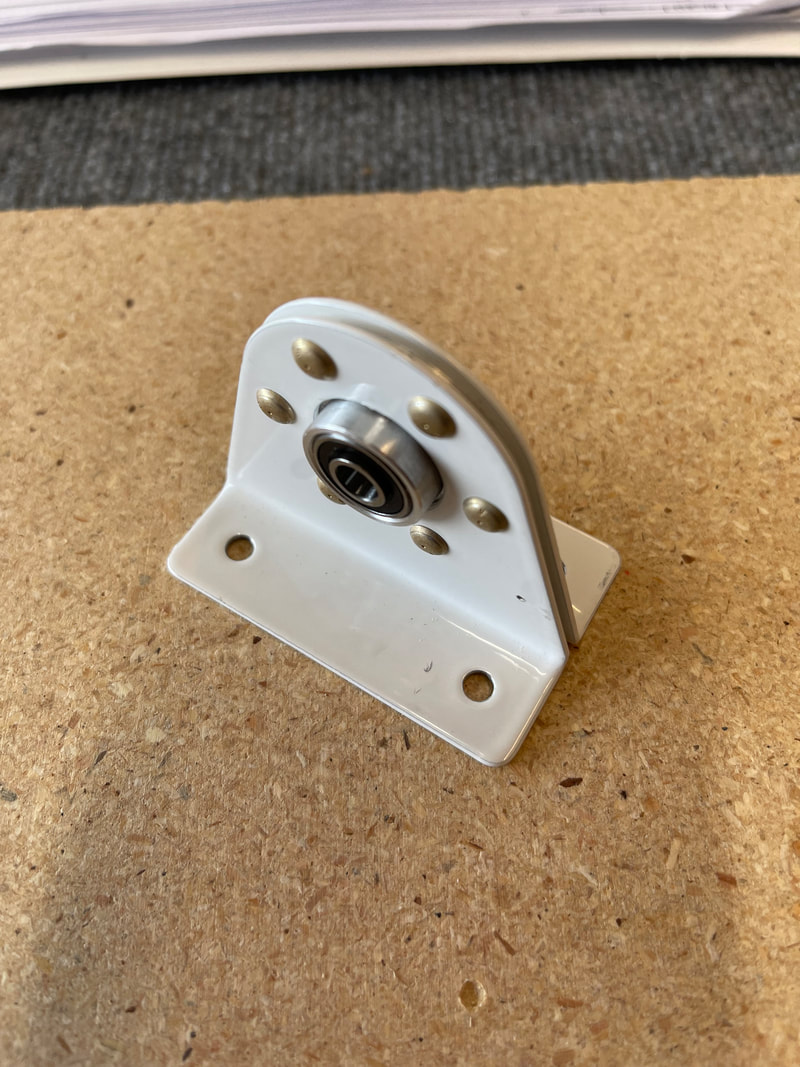
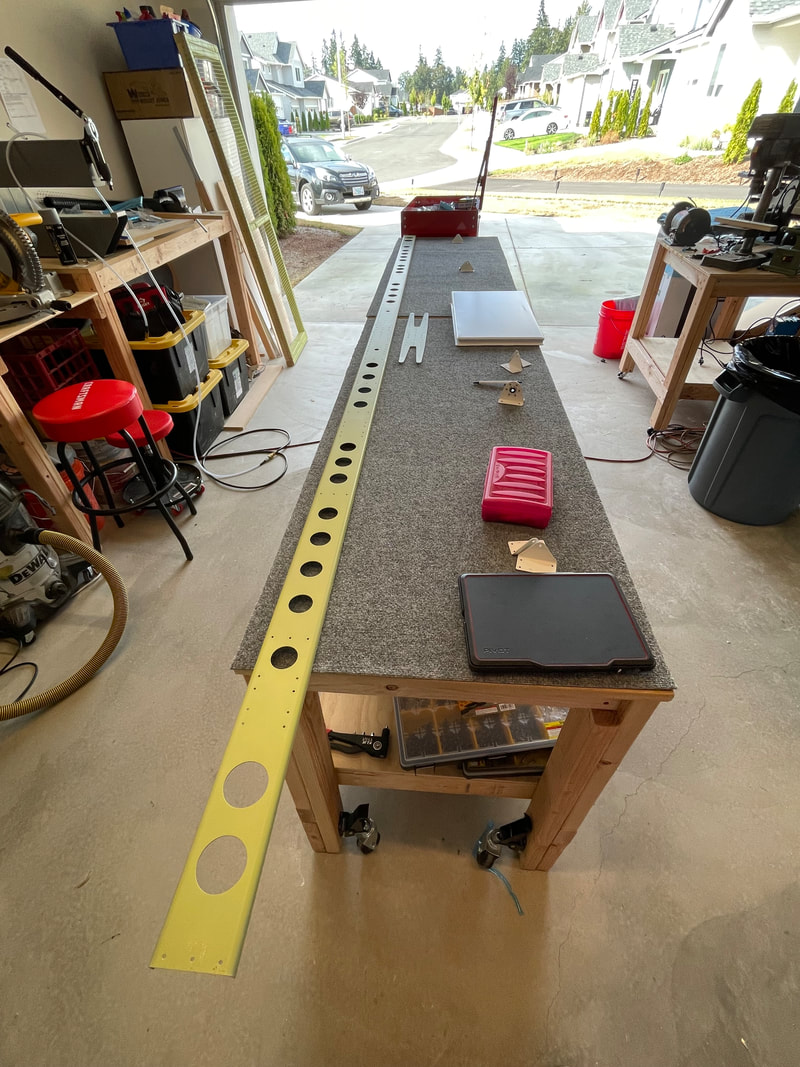
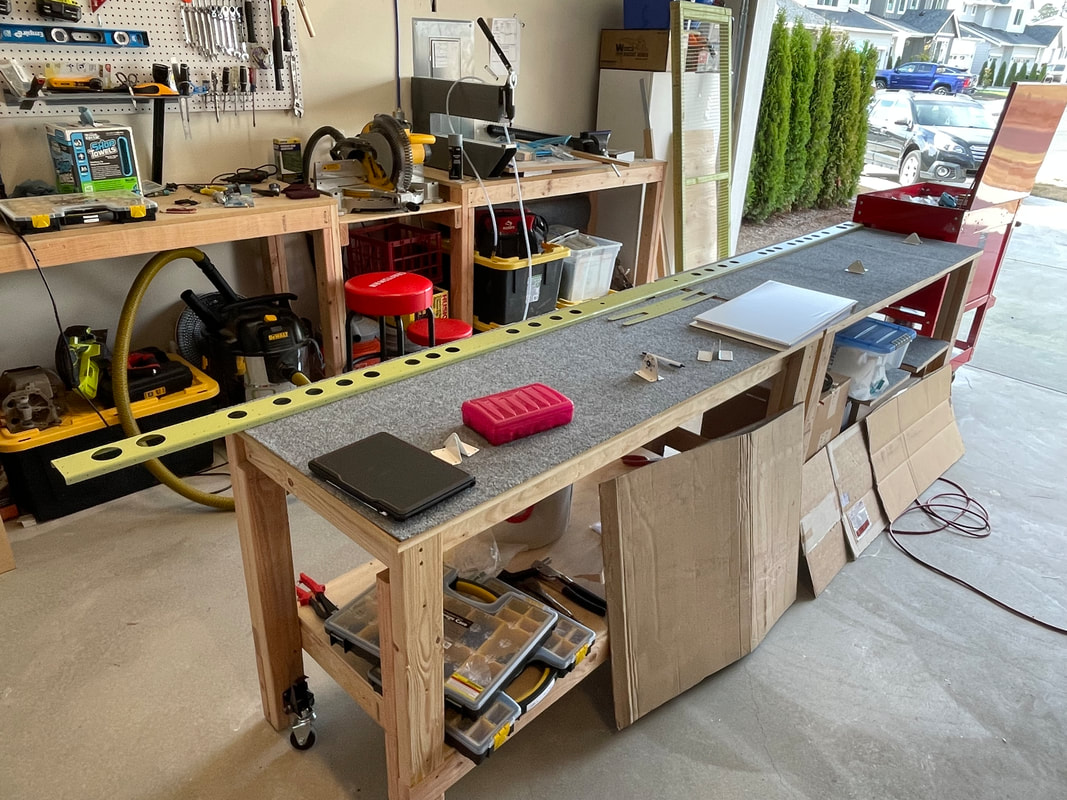
Progress has been steady this week unlike my blog updates. Today also marks the end of my first week of meeting my 20 hour/wk goal since starting the project - this week clocked in at 21 hours. The rudder is complete, the skin is cleco'ed on to the vertical stab, and work has commenced on Section 8 - the vertical stabilizier! I'd really been sweating the riveting of the trailing edge. I used the Cleaveland Tools trailing edge squeezer dies paired with my trusty old manual squeezer. I elected to do the manual on these rivets due the the amount of control it gave me over the squeeze. I'm very pleased with the overall results! Now it was on to the next task that I haven't been looking forward to - rolling of the rudder's leading edge. The top and bottom sections came out great, but the middle gave me some fits and I did end up with minor pillowing between about the middle 6 rivets. Overall I'm pleased with the results. It is far from perfect, but as others have said, chasing perfection will turn this into a project that never gets completed. Rudder is DONE! Next up I decided to cleko the vertical stab skin onto the skeleton. I've still been waiting for an opportune time to teach my wife to operate the rivet gun so we can get this skin bucked. Right now I'm thinking I may push through until the horizontal skins need riveting, then we can make a day of getting it all wrapped up. As for the vertical, I did end up needing to trim some more off of the nose rib flanges to get them to fit into the front of the skin without buckling it or creating that bulge/dent that others have complained about. Got it done and its looking pretty good! Excited to move on to working on the horizontal stabilizer. Before work commenced, I had to take some time to pull out my other EAA workbench, get some carpet on it, and adjust the leveling feet to provide for a nice level surface across the two benches. One thing is for certain - this horizonal stabilizer is LONG! Completed 8-2 steps 1-4, and while the parts were air drying after their EkoEtch treatment, I knocked out 8-3 step 1 - riveting the inboard hinge brackets and the flange bearing. Got the rear spar parts primed and called it a day. I'll complete 8-2 tomorrow with riveting the rear spar since the primer will have been able to cure overnight.
0 Comments
Leave a Reply. |
Archives
April 2023
Categories |

 RSS Feed
